Oat Flour Pancakes are a delightful way to start your day, combining wholesome ingredients with a fluffy texture that will make your taste buds dance! Made with nutritious oat flour, these pancakes are naturally gluten free and packed with fiber, ensuring a satisfying breakfast that keeps you energized. Simply mix in some almond milk and a hint of maple syrup for sweetness, and you’ll have a stack of golden goodness ready to be topped with fresh berries or a dollop of yogurt. Dive into this deliciously healthy treat and savor every bite!
Why You’ll Love This Oat Flour Pancakes
- Wholesome goodness: Oat flour is packed with fiber and nutrients.
- Gluten-free option: Perfect for those with gluten sensitivities.
- Easy to make: Simple ingredients and quick prep time.
- Customizable: Add your favorite fruits or spices for a personal touch.
- Deliciously fluffy: Enjoy pancakes that are light and satisfying.
Oat Flour Pancakes
Ingredients
Equipment
Method
- Collect all the ingredients listed above.
- In a large bowl, whisk together the oat flour, baking powder, sugar, and salt until well combined.
- In another bowl, beat the egg, then add the milk and melted coconut oil or butter. Mix until everything is nicely blended.
- Pour the wet mixture into the dry ingredients. Stir gently until just combined. Don’t overmix; a few lumps are perfectly fine!
- Preheat a non-stick skillet or griddle over medium heat. You can add a little oil or butter to prevent sticking.
- Pour 1/4 cup of batter onto the skillet for each pancake. Cook until bubbles form on the surface, about 2-3 minutes. Flip and cook for another 2 minutes until golden brown.
- Stack your pancakes high and top with your favorite toppings like fresh fruit, maple syrup, or yogurt. Dig in and enjoy your healthy breakfast delight!
Recipe Snapshot
| Feature | Details |
|---|---|
| Category: | Breakfast |
| Cuisine: | American |
| Prep Time: | 10 minutes |
| Cook Time: | 15 minutes |
| Total Time: | 25 minutes |
| Dietary: | Gluten-free, Vegan |
| Serves: | 4 |
| Best Served: | With maple syrup and fresh fruits |
Ingredients
- Oat Flour – a gluten-free alternative that adds a nutty flavor and is rich in fiber.
- Baking Powder – helps the pancakes rise and become fluffy.
- Salt – enhances the overall flavor of the pancakes.
- Milk – adds moisture; use dairy or a plant-based alternative for a vegan option.
- Egg – binds the ingredients together; substitute with a flax egg for a vegan version.
- Maple Syrup – a natural sweetener that adds a delicious flavor; can be adjusted to taste.
- Vanilla Extract – adds a lovely aroma and enhances sweetness.
Ingredients with measurements will be right under the article in the recipe card.
How to Make the Recipe
Get ready for some delicious Oat Flour Pancakes! Follow these simple steps and enjoy a healthy breakfast treat.
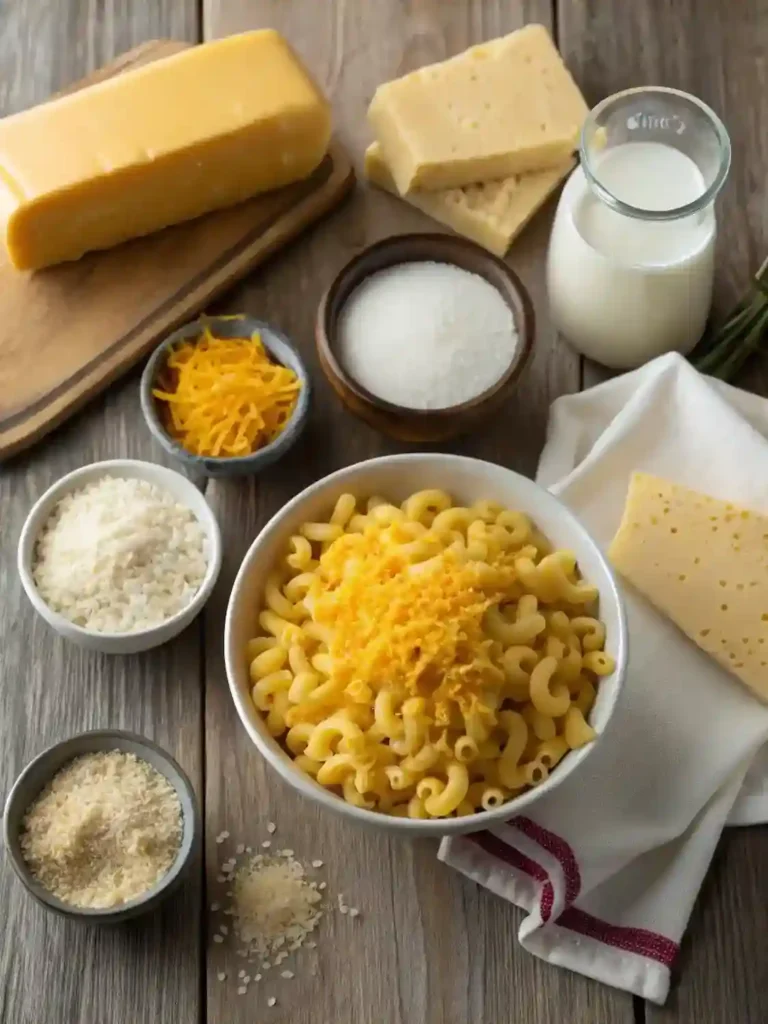
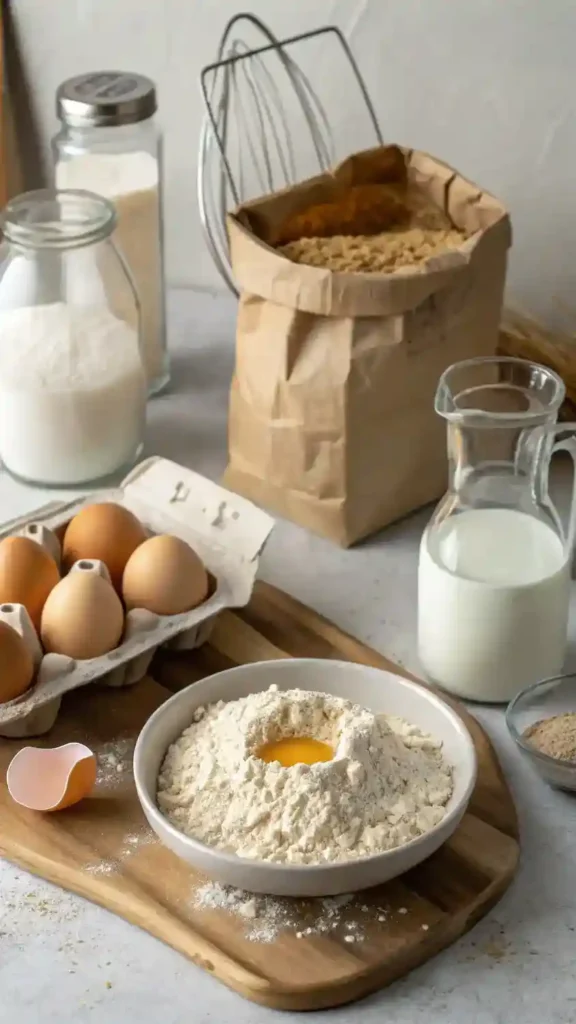
Step 1: Gather Your Ingredients
Collect 1 cup of oat flour, 1 tablespoon of baking powder, 1 tablespoon of sugar (or a sweetener of your choice), 1/4 teaspoon of salt, 1 cup of milk (dairy or plant-based), 1 large egg, and 2 tablespoons of melted coconut oil or butter.
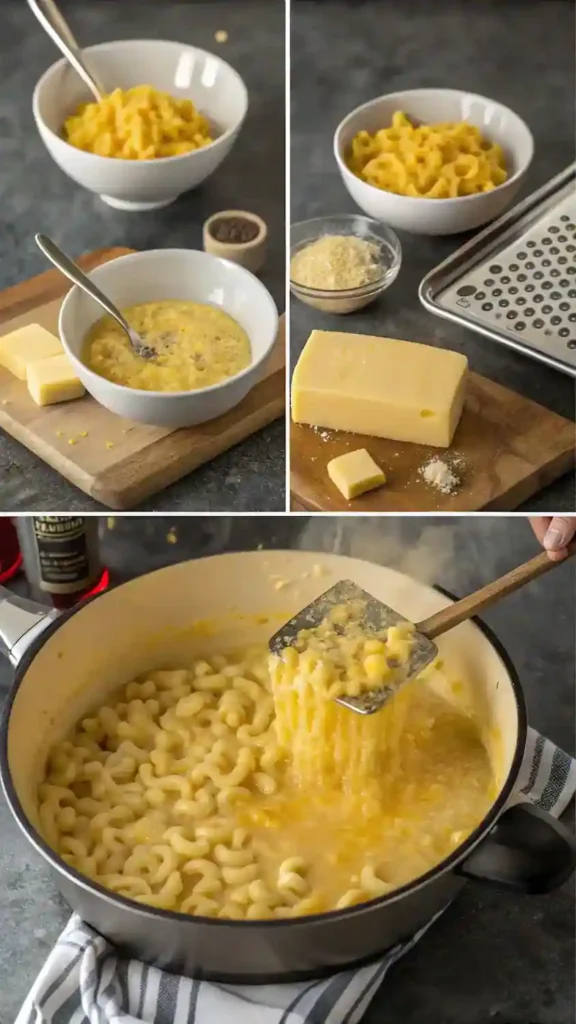
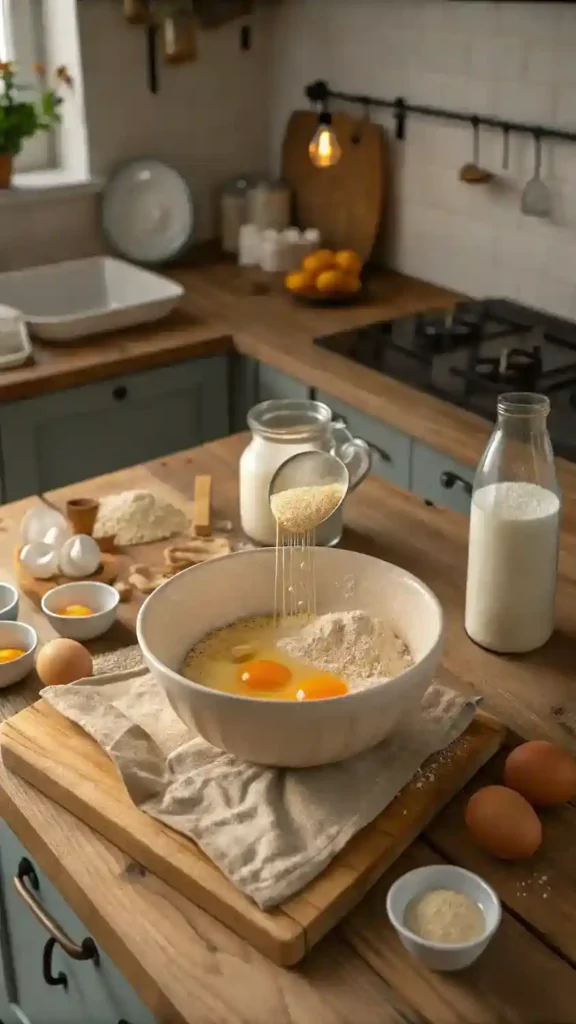
Step 2: Mix the Dry Ingredients
In a large bowl, whisk together the oat flour, baking powder, sugar, and salt until well combined. This is where the magic begins!
Step 3: Combine the Wet Ingredients
In another bowl, beat the egg, then add the milk and melted coconut oil or butter. Mix until everything is nicely blended.
Step 4: Combine Wet and Dry Mixtures
Pour the wet mixture into the dry ingredients. Stir gently until just combined. Don’t overmix; a few lumps are perfectly fine!
Step 5: Heat the Pan
Preheat a non-stick skillet or griddle over medium heat. You can add a little oil or butter to prevent sticking.
Step 6: Cook the Pancakes
Pour 1/4 cup of batter onto the skillet for each pancake. Cook until bubbles form on the surface, about 2-3 minutes. Flip and cook for another 2 minutes until golden brown.
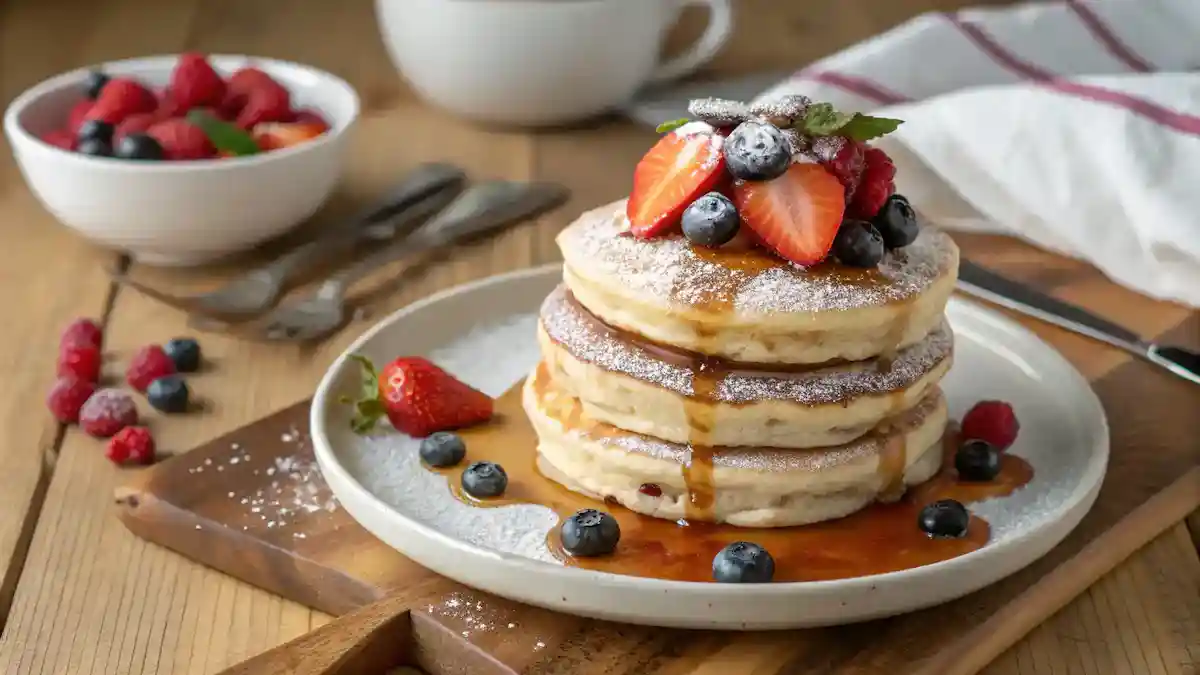
Step 7: Serve and Enjoy!
Stack your pancakes high and top with your favorite toppings like fresh fruit, maple syrup, or yogurt. Dig in and enjoy your healthy breakfast delight!
Pro Tips for Making the Recipe
- Use a mix of oat flour and whole wheat flour for extra texture.
- Let the batter rest for 5-10 minutes to enhance fluffiness.
- Add a pinch of cinnamon or vanilla extract for a flavor boost.
- Cook on medium heat for even browning and to avoid burning.
- Top with fresh fruits or yogurt for a delightful finish.
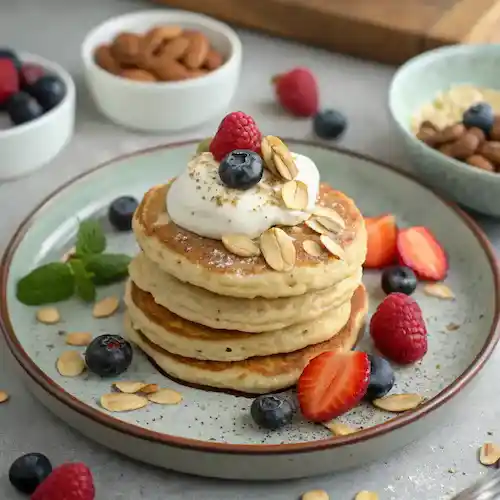
How to Serve
- Top with fresh berries for a burst of flavor.
- Drizzle with pure maple syrup or honey for sweetness.
- Add a dollop of Greek yogurt for creaminess and protein.
- Sprinkle with cinnamon for a warm, cozy touch.
- Serve with sliced bananas and a sprinkle of nuts for crunch.
- Pair with a smoothie for a refreshing breakfast combo.
- Enjoy with a side of nut butter for extra richness.
- Layer with your favorite jam for a fruity twist.
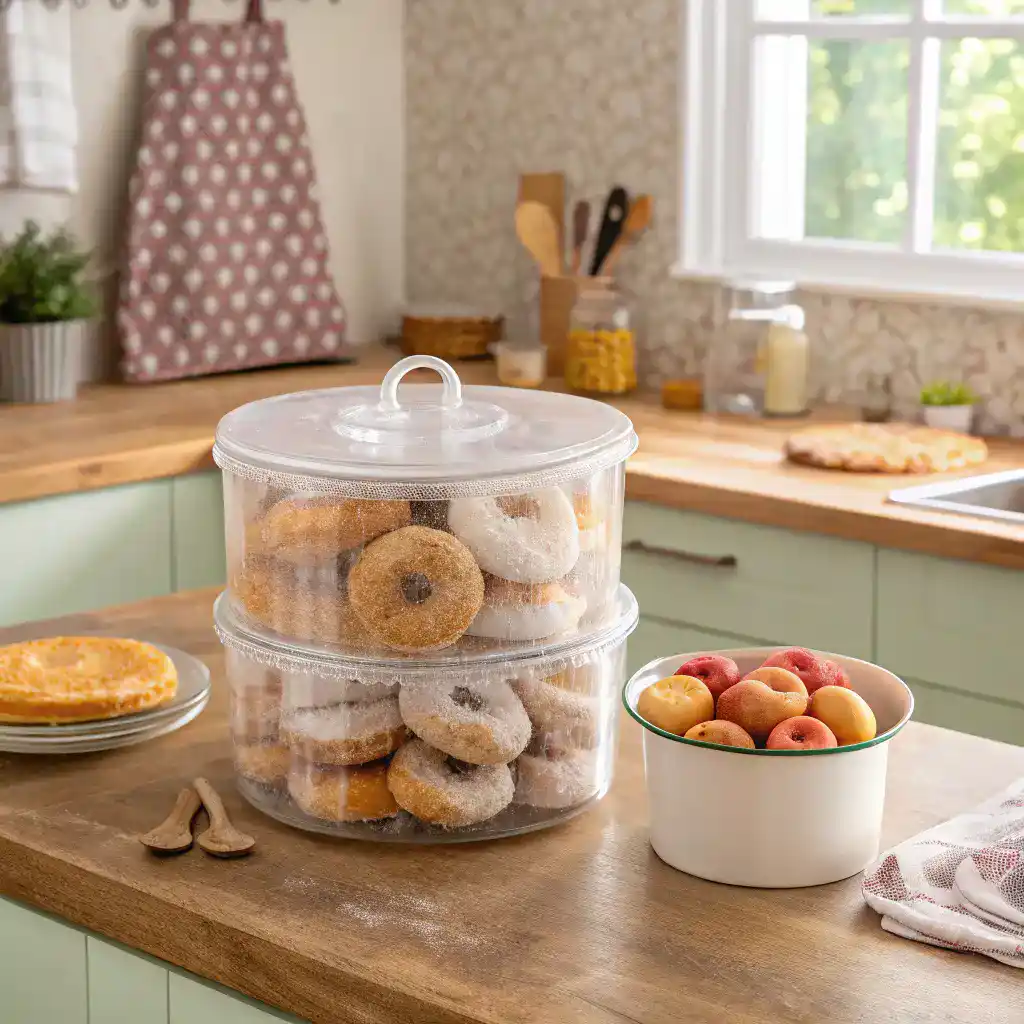
Make Ahead and Storage
Storing leftovers properly ensures your Oat Flour Pancakes stay fresh and delicious.
Storing Leftovers
• Allow pancakes to cool completely before storing.
• Place them in an airtight container.
• Separate layers with parchment paper to prevent sticking.
• Store in the refrigerator for up to 3 days.
Freezing
• Cool pancakes completely before freezing.
• Stack pancakes with parchment paper between each layer.
• Wrap tightly in plastic wrap or aluminum foil.
• Place in a freezer-safe bag or container.
• Freeze for up to 2 months for best quality.
Reheating
• Thaw pancakes in the refrigerator overnight.
• Reheat in a toaster or toaster oven for a crispy texture.
• Use a microwave for quick reheating, about 20-30 seconds.
• Serve with your favorite toppings for a fresh taste.
you van visit our breakfast, lunch, dinner and desserts recipes from here:
Breakfast, Lunch, Dinner, Dessert / Cake
FAQs
Can I use regular flour instead of oat flour?
Yes, you can substitute regular flour for oat flour, but the texture and flavor will differ. Oat flour adds a nutty taste and is gluten-free, making it a healthier option.
How can I make my oat flour pancakes fluffier?
To achieve fluffier pancakes, consider adding an extra egg or a bit of baking powder. This will help create air pockets, resulting in a lighter texture.
Can I make oat flour pancakes ahead of time?
Absolutely! You can prepare the batter in advance and store it in the fridge for up to 24 hours. Just give it a good stir before cooking.
What toppings pair well with oat flour pancakes?
Oat flour pancakes are versatile! Try fresh fruits, yogurt, nut butter, or a drizzle of honey or maple syrup for a delicious touch.
Final Thoughts
There you have it—delicious Oat Flour Pancakes that are not just easy to whip up but also a joy to savor! Picture yourself flipping these fluffy delights on a lazy Sunday morning, drizzled with maple syrup or topped with fresh fruit. It’s a simple pleasure that brings a smile to your face. So grab your ingredients, gather your loved ones, and enjoy this wholesome breakfast together!