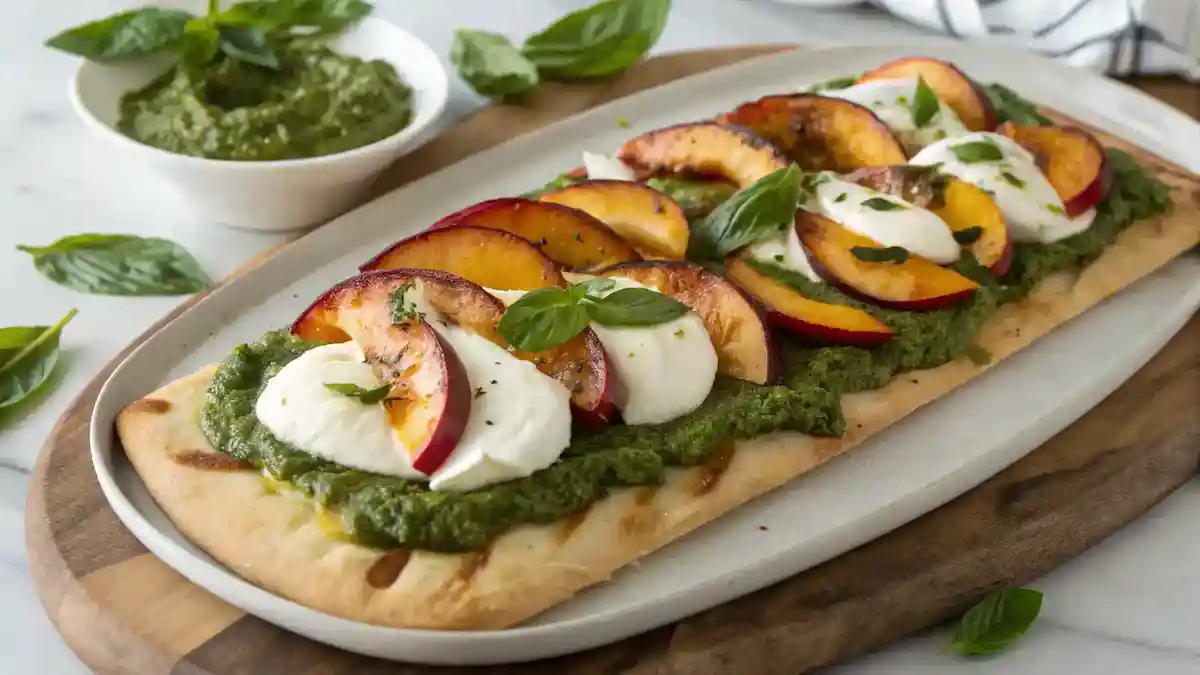
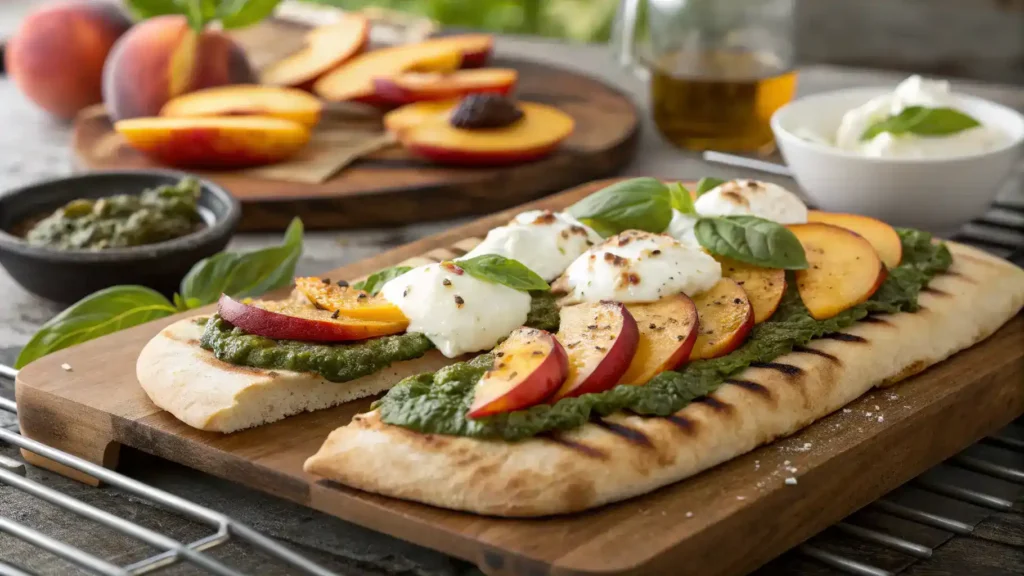
This Pesto, Grilled Peach & Burrata Flatbread is like a summer party on a plate! The creamy burrata melts beautifully over a crispy flatbread, while the sweet, smoky grilled peaches add a burst of flavor that dances with the vibrant pesto. Each bite is a delightful mix of textures and tastes, making it perfect for a cozy night in or a fun gathering with friends. Drizzle a little balsamic glaze for that extra zing, and you’ve got a dish that’s not just a meal, but a celebration of fresh ingredients and good vibes!
For a deeper understanding of the origins and variations of flatbread, you can explore this comprehensive overview on Wikipedia.
Why You’ll Love This Recipe
- Trust me, you’re going to love the sweet and savory combo of grilled peaches and creamy burrata!
- This one’s a game-changer for your summer gatherings—everyone will be asking for seconds!
- It’s a quick and easy recipe that looks gourmet—perfect for impressing guests!
- Fresh pesto adds a burst of flavor that ties everything together beautifully!
- It’s a delightful way to enjoy seasonal fruits and elevate your flatbread game!
Recipe Snapshot
| Feature | Details |
|---|---|
| Category: | Appetizer |
| Cuisine: | Italian |
| Prep Time: | 15 minutes |
| Cook Time: | 10 minutes |
| Total Time: | 25 minutes |
| Dietary: | Vegetarian |
| Serves: | 4 |
| Best Served: | Warm |
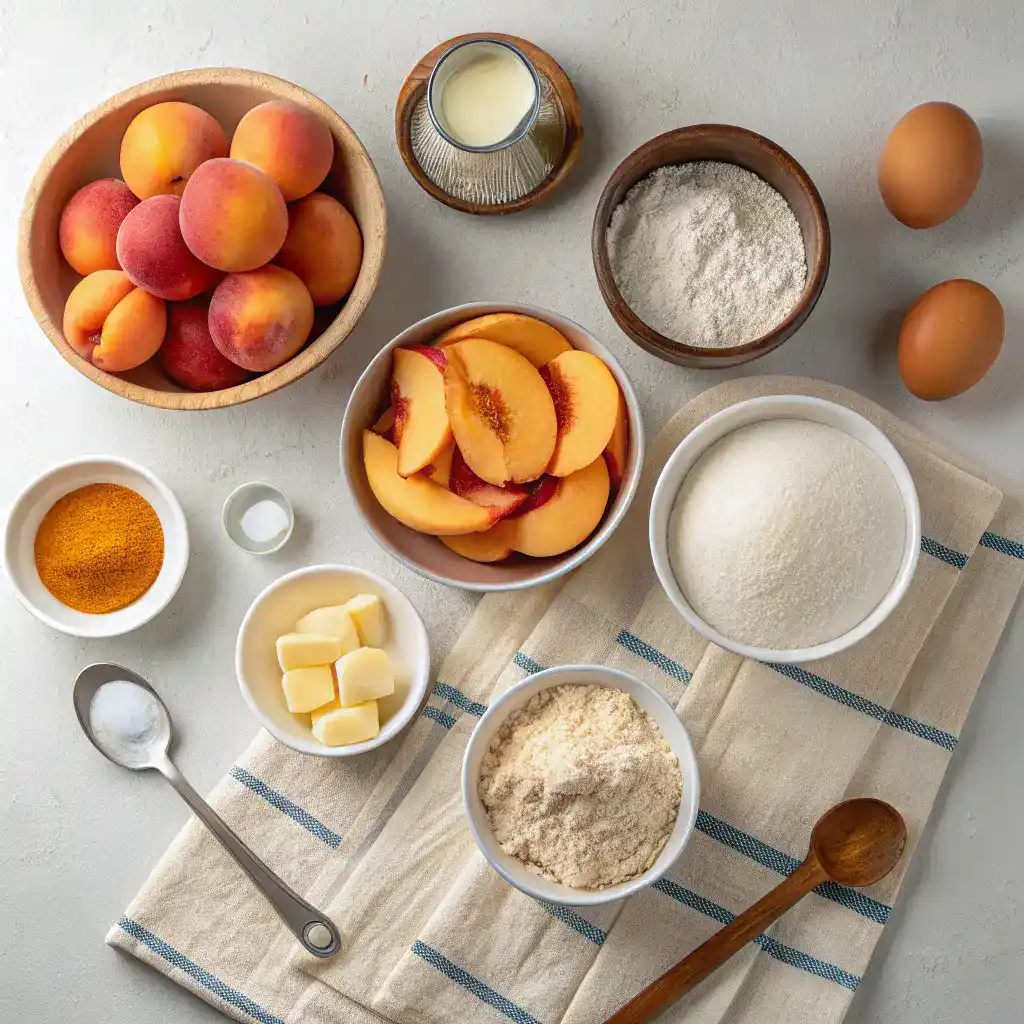
Ingredients
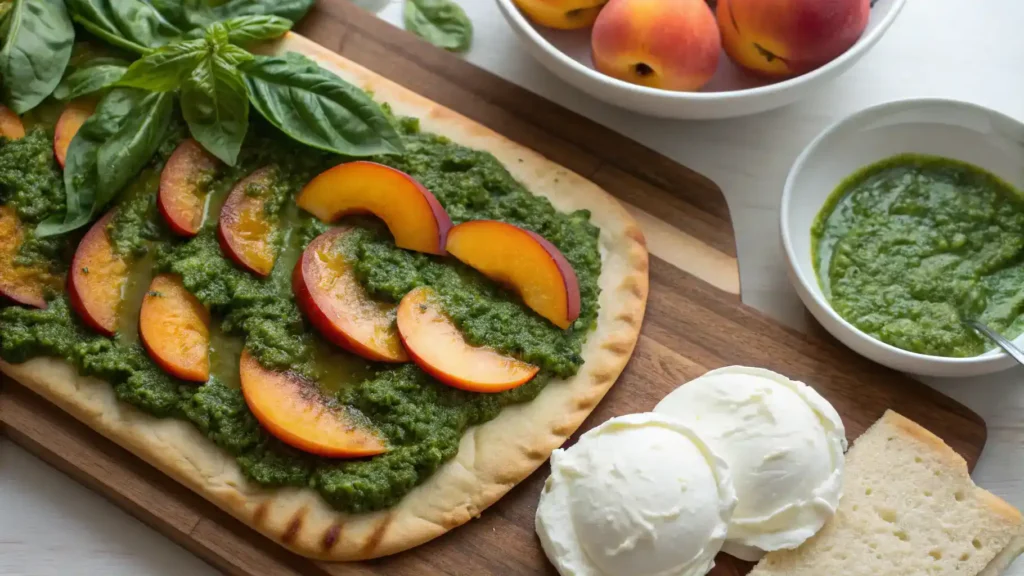
- Pesto – adds a vibrant, herby flavor that ties all the ingredients together.To learn more about the traditional preparation and variations of pesto, visit Wikipedia’s page on Pesto.
- Grilled Peaches – provide a sweet, smoky contrast to the creamy burrata.
- Burrata – offers a rich, creamy texture that elevates the flatbread.
- Flatbread – serves as the perfect base for all the delicious toppings.
- Olive Oil – enhances the flavors and helps with grilling the peaches.
- Fresh Basil – adds a burst of freshness and color to the dish.
- Honey – drizzled on top, it balances the savory and sweet elements.
- Salt – a pinch enhances the overall flavor profile.
Ingredients with measurements will be right under the article in the recipe card.
How to Make the Recipe
Get ready to create a mouthwatering Pesto, Grilled Peach & Burrata Flatbread that will impress everyone!
Step 1: Gather Your Ingredients
Collect fresh flatbread, ripe peaches, creamy burrata, basil pesto, olive oil, salt, and pepper.
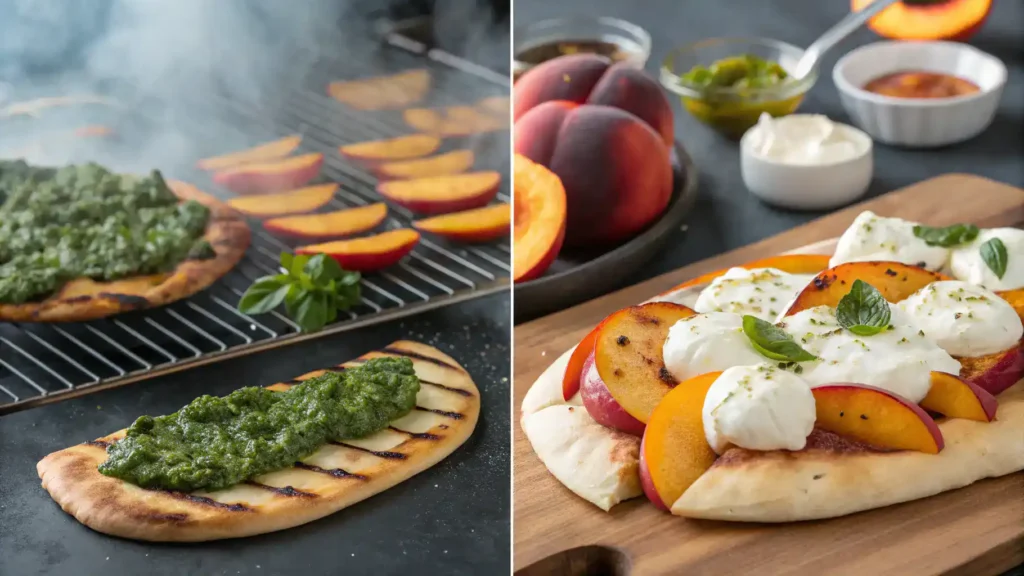
Step 2: Preheat the Grill
Fire up your grill to medium heat, ready for those juicy peaches!
Step 3: Prepare the Peaches
Slice the peaches in half and remove the pit. Brush them lightly with olive oil.
Step 4: Grill the Peaches
Place the peach halves cut-side down on the grill. Grill for about 3-4 minutes until they have nice grill marks.
Step 5: Assemble the Flatbread
Spread a generous layer of basil pesto over the flatbread. Lay the grilled peaches on top.
Step 6: Add the Burrata
Gently tear the burrata and place it on the flatbread, letting it ooze a little.
Step 7: Season and Drizzle
Sprinkle with salt and pepper, then drizzle with a touch of olive oil for extra flavor.
Step 8: Serve and Enjoy
Slice your flatbread and serve it warm. Enjoy the delightful combination of flavors!
Pro Tips for Making the Recipe
• Use ripe peaches for the best sweetness and flavor.
• Grill the peaches until they have nice char marks for added depth.
• Opt for fresh burrata for a creamy texture that melts in your mouth.
• Drizzle with balsamic glaze for a tangy finish that complements the sweetness.
• Experiment with different pestos, like arugula or spinach, for a unique twist.
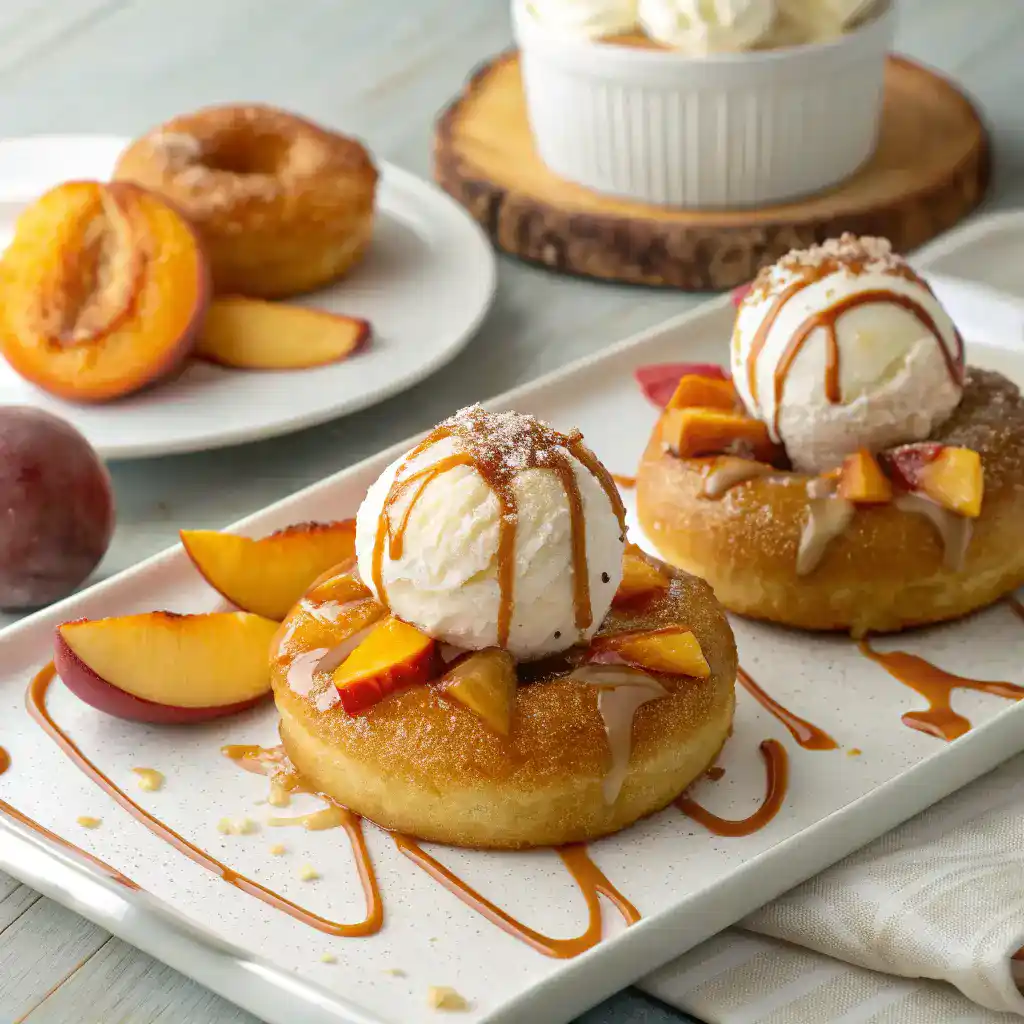
How to Serve
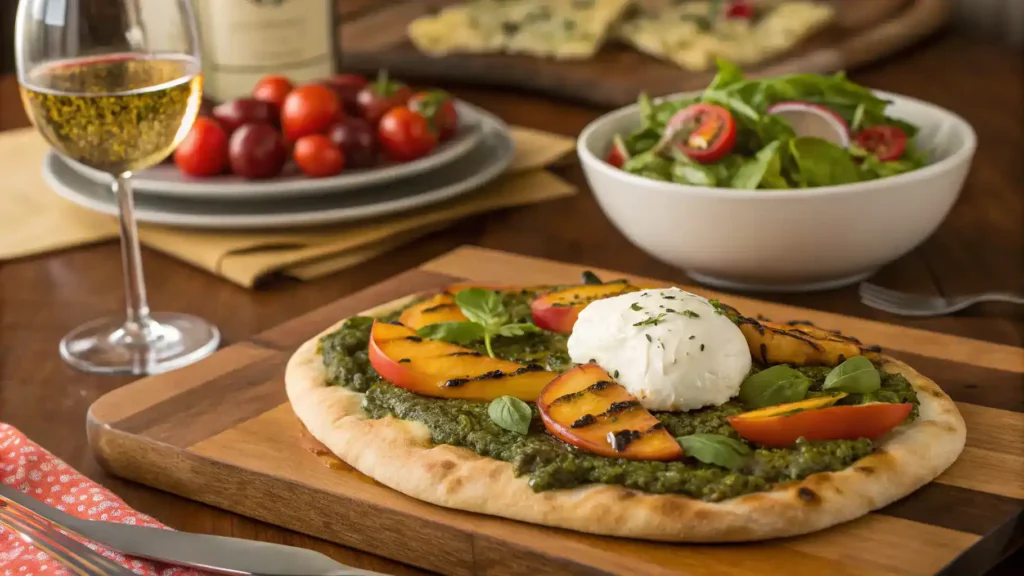
• Serve warm, straight from the oven for the best flavor and texture.
• Drizzle with balsamic glaze for an extra touch of sweetness.
• Garnish with fresh basil leaves for a pop of color and freshness.
• Pair with a refreshing arugula salad dressed in lemon vinaigrette.
• Enjoy with a chilled sparkling water infused with citrus for a delightful drink.
• Slice into smaller pieces for a perfect appetizer at gatherings.
• Add a sprinkle of crushed red pepper for a spicy kick.
• Serve alongside a creamy hummus dip for a fun twist.
Make Ahead and Storage
Storing Leftovers
To keep your flatbread fresh:
- Allow it to cool completely.
- Wrap it tightly in plastic wrap.
- Place it in an airtight container.
- Store in the refrigerator for up to 3 days.
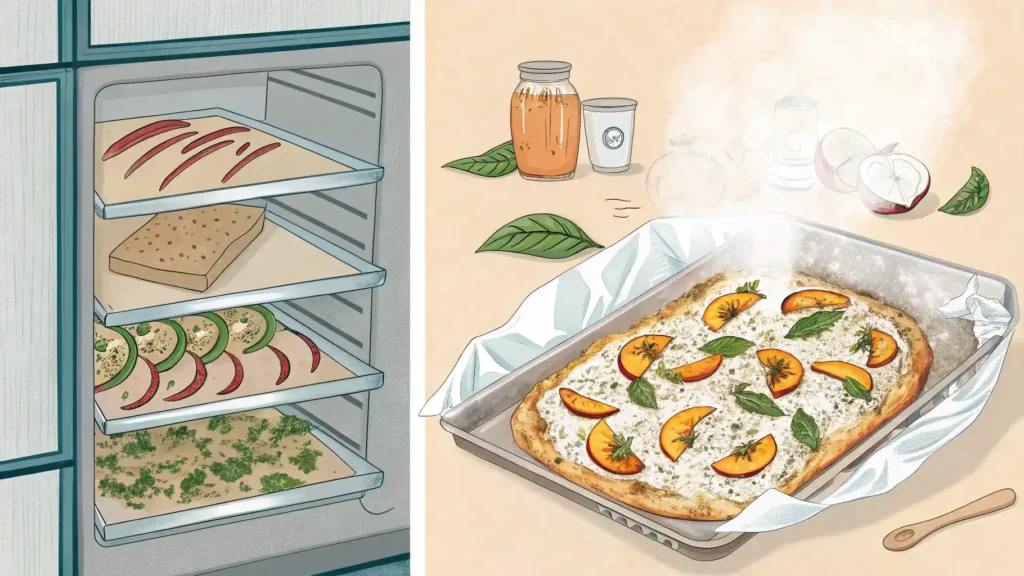
Freezing
For longer storage:
- Cool the flatbread completely.
- Wrap it in plastic wrap, then foil.
- Label with the date.
- Freeze for up to 2 months.
Reheating
To enjoy your flatbread again:
- Preheat the oven to 350°F (175°C).
- Remove wrapping and place on a baking sheet.
- Heat for 10-15 minutes until warm.
- For a crispy crust, broil for 1-2 minutes.

Pesto, Grilled Peach & Burrata Flatbread
Ingredients
Method
- Collect fresh flatbread, ripe peaches, creamy burrata, basil pesto, olive oil, salt, and pepper.
- Fire up your grill to medium heat, ready for those juicy peaches!
- Slice the peaches in half and remove the pit. Brush them lightly with olive oil.
- Place the peach halves cut-side down on the grill. Grill for about 3-4 minutes until they have nice grill marks.
- Spread a generous layer of basil pesto over the flatbread. Lay the grilled peaches on top.
- Gently tear the burrata and place it on the flatbread, letting it ooze a little.
- Sprinkle with salt and pepper, then drizzle with a touch of olive oil for extra flavor.
- Slice your flatbread and serve it warm. Enjoy the delightful combination of flavors!
more recipes
FAQs
What type of pesto works best for this flatbread?
For this flatbread, a classic basil pesto is ideal, but feel free to experiment with other variations like arugula or sun-dried tomato pesto for a unique twist!
Can I use a different cheese instead of burrata?
Absolutely! If burrata isn’t available, fresh mozzarella or goat cheese can be delightful substitutes that still provide a creamy texture.
How do I grill peaches without a grill?
No grill? No problem! You can use a stovetop grill pan or even roast the peaches in the oven at a high temperature until they’re caramelized and tender.
What can I serve with this flatbread?
This flatbread pairs wonderfully with a light salad or a refreshing beverage like iced tea or lemonade to balance the flavors!
Final Thoughts
There you have it, a delightful Pesto, Grilled Peach & Burrata Flatbread that’s as easy to make as it is to enjoy! Picture yourself savoring each bite, the creamy burrata mingling with sweet peaches and zesty pesto. It’s a dish that brings friends and family together, sparking joy and laughter. So roll up your sleeves, gather your ingredients, and treat yourself to this spectacular delight—you deserve it!