Jerk seasoning recipe is your ticket to a vibrant explosion of flavors that will elevate any meal! This delightful blend of spices, including allspice, thyme, and a hint of heat from cayenne pepper, creates a tantalizing marinade that dances on your taste buds. Perfect for chicken, fish, or even grilled veggies, this seasoning brings the essence of the Caribbean right to your kitchen. Just mix the spices with a splash of lime juice and a drizzle of olive oil, and you’re ready to embark on a culinary adventure that’s both easy and irresistibly delicious!
Why You’ll Love This Recipe
- It’s a flavor explosion that transforms any dish into a culinary adventure.
- Easy to make with common spices you probably already have at home.
- Versatile enough for chicken, fish, and even veggies everyone can enjoy it!
- Customizable to suit your spice tolerance make it as mild or fiery as you like!
- Perfect for meal prep; whip up a batch and elevate your weeknight dinners.

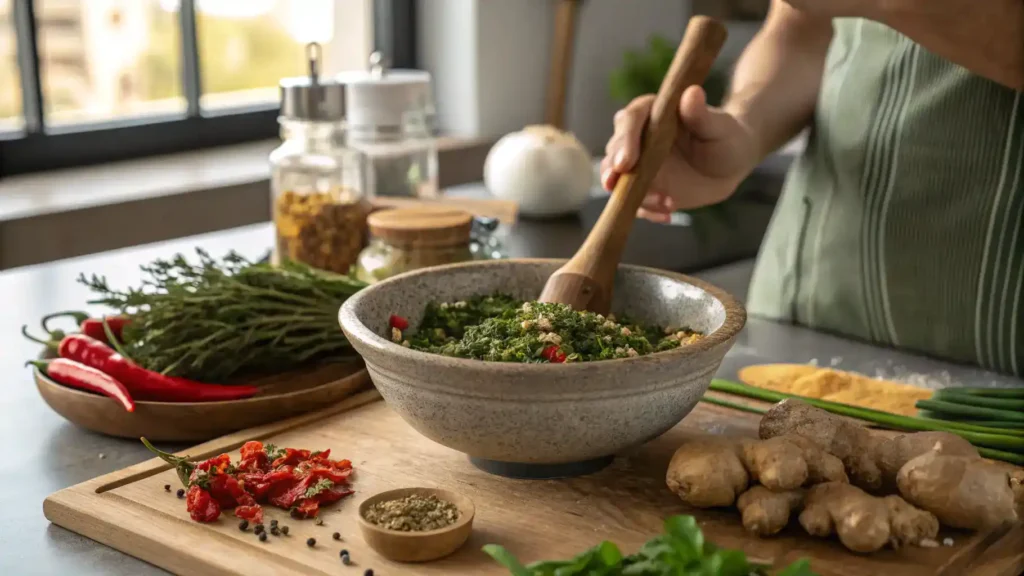
jerk seasoning recipe
Ingredients
Method
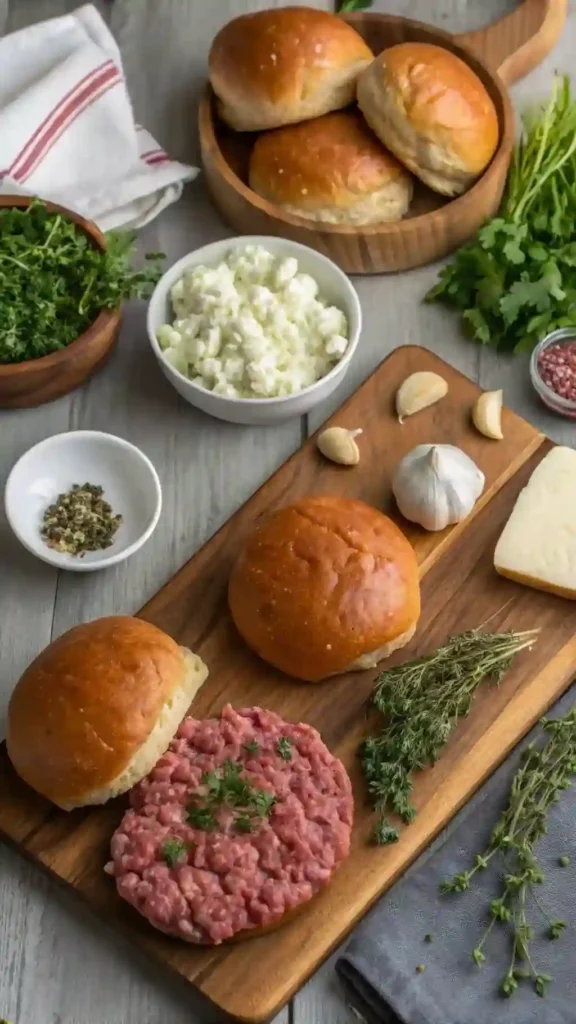
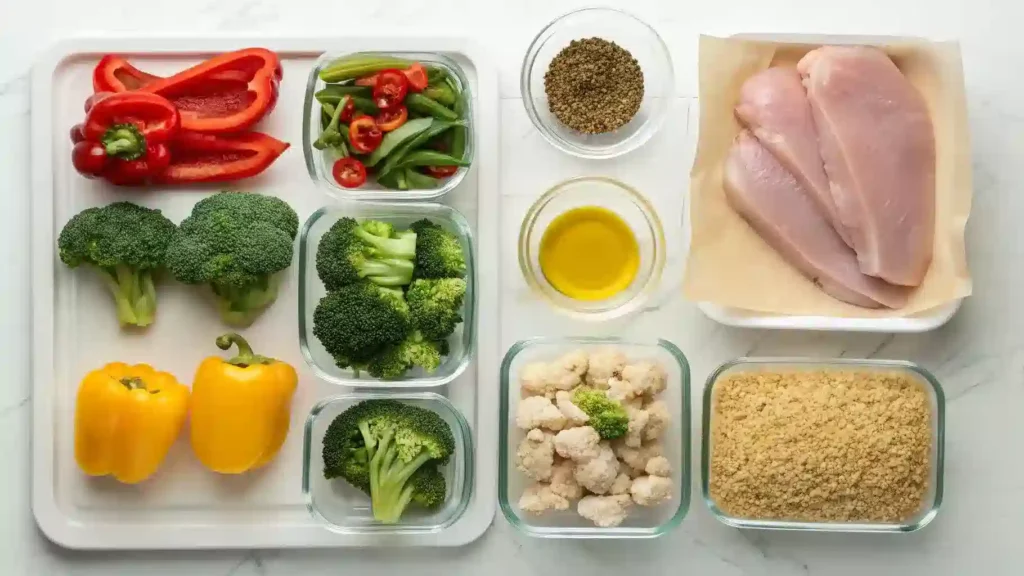
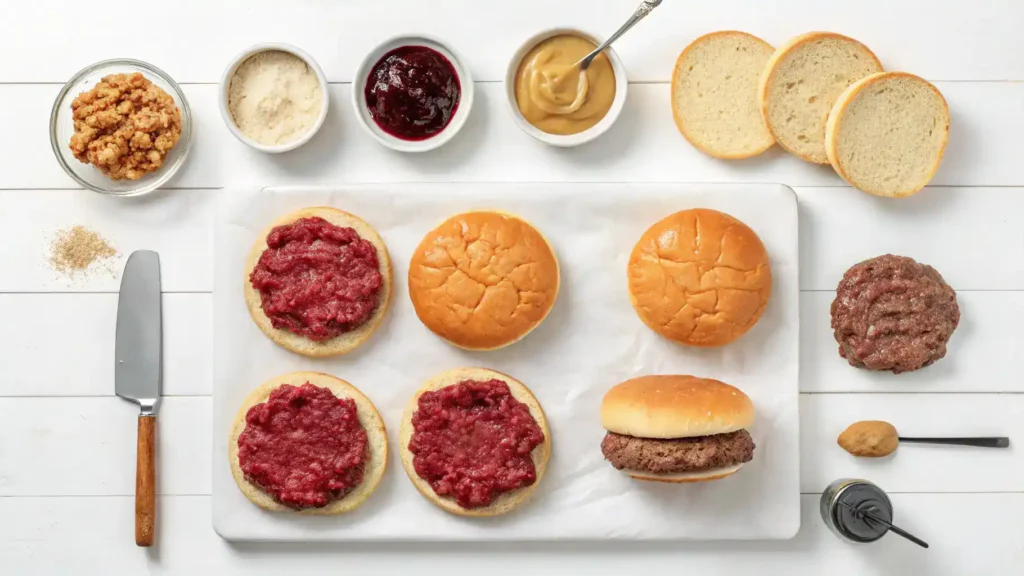
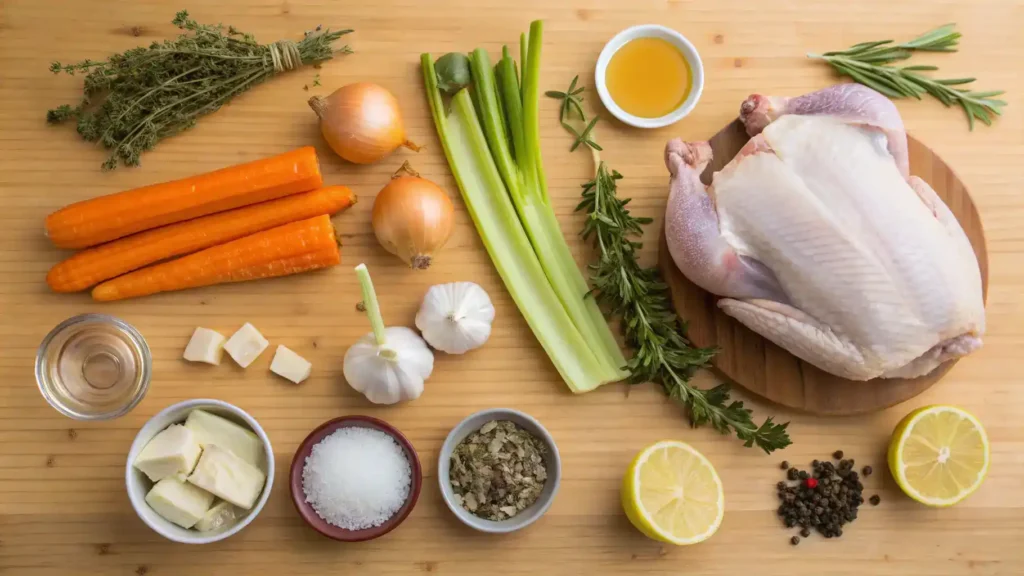
- Step 1: Gather your ingredients.
- Step 2: Prepare the fresh ingredients by chopping green onions and scotch bonnet peppers.
- Step 3: Mix the dry ingredients in a bowl until well blended.
- Step 4: Add the fresh ingredients to the dry mixture and stir.
- Step 5: Blend the mixture in a food processor for a smoother texture.
- Step 6: Store the jerk seasoning in an airtight container.
- Step 7: Enjoy your flavor boost on grilled meats, vegetables, or tofu!
Notes
| Nutrient | Amount |
|---|---|
| Calories | 50 |
| Fat | 1g |
| Protein | 1g |
| Carbs | 12g |
Recipe Snapshot
| Feature | Details |
|---|---|
| Category: | Seasoning |
| Cuisine: | Caribbean |
| Prep Time: | 10 minutes |
| Cook Time: | 0 minutes |
| Total Time: | 10 minutes |
| Dietary: | Gluten-free, Vegan |
| Serves: | Makes about 1 cup |
| Best Served: | With grilled meats, vegetables, or tofu |
Ingredients
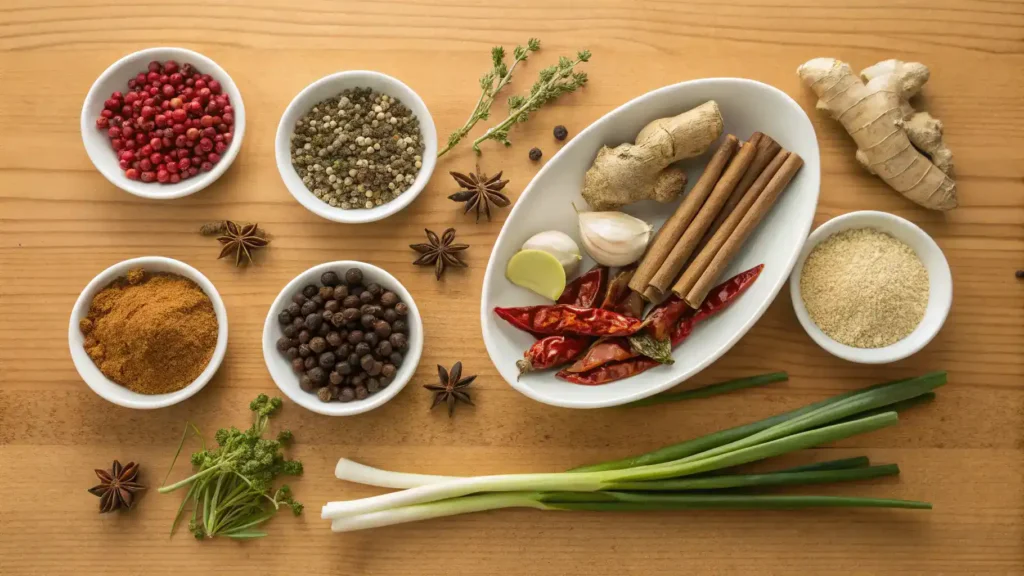
- Allspice – adds a warm, aromatic flavor that is essential to jerk seasoning.
- Thyme – provides an earthy note that complements the spices beautifully.
- Scotch Bonnet Peppers – delivers the signature heat; use less for a milder kick.
- Garlic Powder – enhances the overall flavor with a savory depth.
- Onion Powder – adds sweetness and richness to the seasoning mix.
- Brown Sugar – balances the heat with a touch of sweetness.
- Black Pepper – contributes a sharp, pungent flavor that rounds out the seasoning.
- Salt – enhances all the flavors and is crucial for seasoning.
- Ginger – adds a zesty warmth that brightens the mix.
- Lime Juice – brings acidity and freshness, helping to tenderize meats.
- Olive Oil – helps to bind the spices and adds moisture to the marinade.
Ingredients with measurements will be right under the article in the recipe card.
How to Make the Recipe
Get ready to create a flavor explosion with this jerk seasoning recipe! Follow these simple steps to whip up your very own blend.
Step 1: Gather Your Ingredients
Collect all the spices and herbs you’ll need: allspice, thyme, cinnamon, nutmeg, garlic powder, onion powder, brown sugar, salt, black pepper, and cayenne pepper. Don’t forget some fresh green onions and scotch bonnet peppers for that authentic kick!
Step 2: Prepare the Fresh Ingredients
Chop the green onions and scotch bonnet peppers finely. If you prefer less heat, remove the seeds from the peppers. Your kitchen will start to smell amazing!
Step 3: Mix the Dry Ingredients
In a bowl, combine all the dry spices: allspice, thyme, cinnamon, nutmeg, garlic powder, onion powder, brown sugar, salt, black pepper, and cayenne pepper. Stir them together until well blended.
Step 4: Add the Fresh Ingredients
Now, add the chopped green onions and scotch bonnet peppers to the dry mixture. Give it a good stir to ensure everything is evenly distributed.
Step 5: Blend It All Together
If you want a smoother texture, transfer the mixture to a food processor. Pulse it a few times until everything is well combined. Just be careful not to over blend!
Step 6: Store Your Jerk Seasoning
Transfer your jerk seasoning to an airtight container. Store it in a cool, dry place. It will keep its flavor for several weeks, but trust me, you’ll want to use it up quickly!
Step 7: Enjoy Your Flavor Boost!
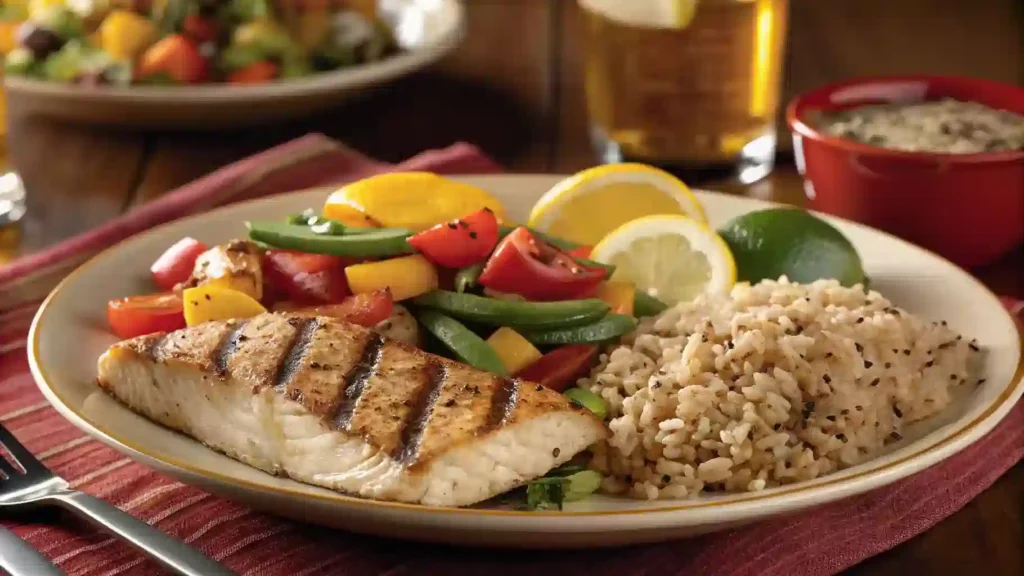
Now that you have your homemade jerk seasoning, sprinkle it on chicken, fish, or veggies before grilling or roasting. Get ready for a taste sensation that will have everyone asking for seconds!
Pro Tips for Making the Recipe
• Use fresh herbs and spices for the best flavor. Dried versions can work, but fresh brings a vibrant taste.
• Adjust the heat level by varying the amount of Scotch bonnet peppers or using milder peppers if preferred.
• Let the seasoning marinate on your protein for at least a few hours, or overnight for deeper flavor penetration.
• Experiment with adding a splash of lime juice or apple cider vinegar for a tangy twist.
• Store any leftover seasoning in an airtight container in the fridge for up to a month to keep it fresh.
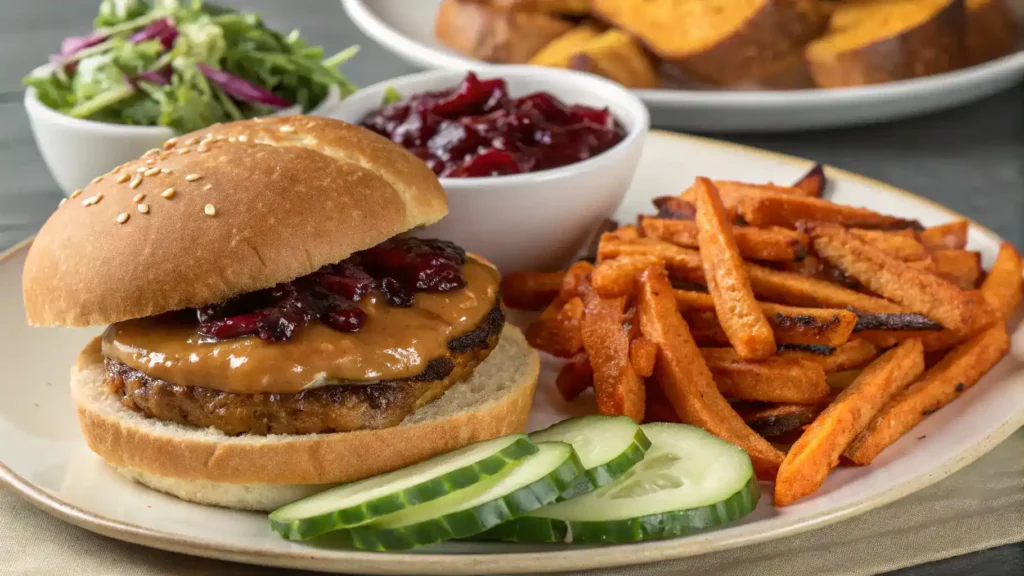
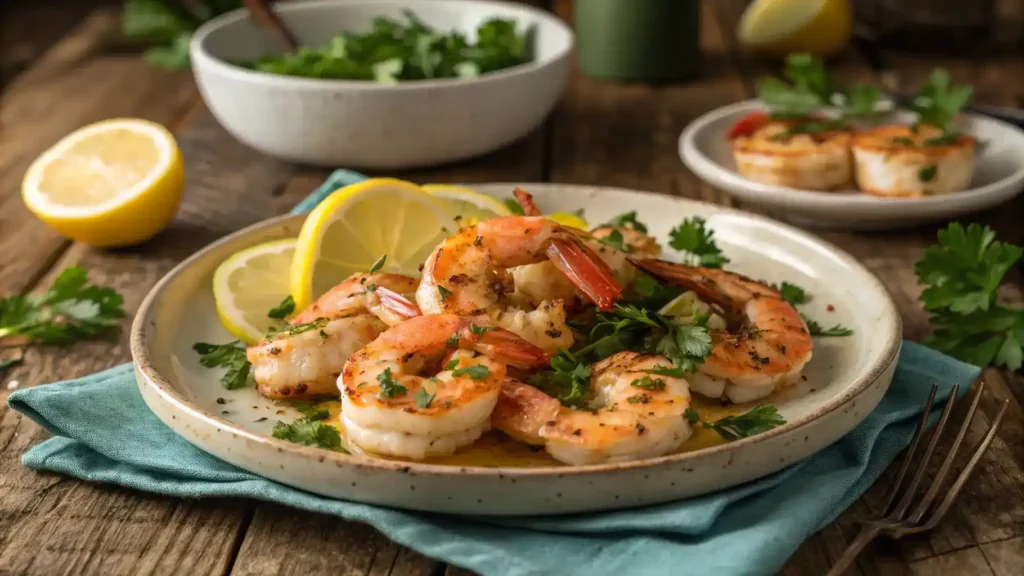
How to Serve
- Rub jerk seasoning on grilled chicken for a spicy kick.
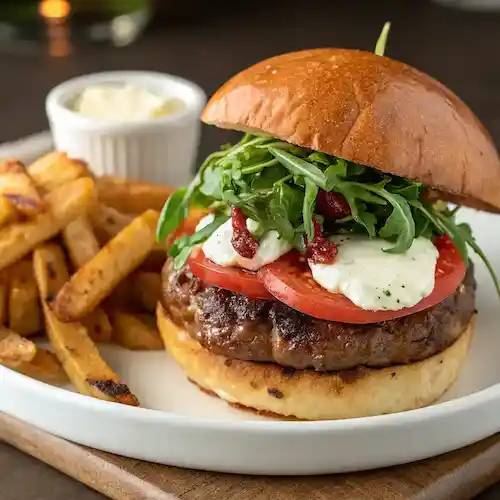
- Mix into ground turkey or chicken for flavorful burgers.
- Sprinkle on roasted vegetables for a zesty twist.
- Use as a marinade for tofu or tempeh before grilling.
- Stir into quinoa or rice for a vibrant side dish.
- Top fish tacos with jerk-seasoned grilled fish and fresh salsa.
- Pair with mango salsa for a sweet and spicy contrast.
- Serve alongside coconut rice for a tropical flair.
- Incorporate into a hearty vegetable stew for added depth.
- Use in wraps with fresh greens and avocado for a tasty lunch.
Make Ahead and Storage
Proper storage of your jerk seasoning can enhance its flavor and longevity.
Storing Leftovers
- Allow the jerk seasoning to cool completely before storing.
- Transfer to an airtight container.
- Store in the refrigerator for up to 2 weeks.
- Label the container with the date for easy tracking.
Freezing
- Portion the jerk seasoning into freezer-safe bags or containers.
- Remove as much air as possible to prevent freezer burn.
- Label with the date and type of seasoning.
- Freeze for up to 6 months for best quality.
Reheating
- Thaw frozen jerk seasoning in the refrigerator overnight.
- Reheat in a saucepan over low heat, stirring occasionally.
- Add a splash of water or broth if it seems too thick.
- For best flavor, reheat gently to avoid losing spices’ potency.
you van visit our breakfast, lunch, dinner and desserts recipes from here:
Breakfast, Lunch, Dinner, Dessert / Cake
FAQs
What is jerk seasoning made of?
Jerk seasoning typically includes a blend of spices like allspice, thyme, and scotch bonnet peppers. You can also add garlic, ginger, and onion for extra flavor. Feel free to adjust the heat level by using milder peppers if you prefer.
Can I use jerk seasoning on vegetables?
Absolutely! Jerk seasoning works wonderfully on vegetables. Toss your favorite veggies in the seasoning before grilling or roasting for a delicious, spicy kick.
How long can I store homemade jerk seasoning?
Homemade jerk seasoning can be stored in an airtight container for up to six months. Keep it in a cool, dark place to maintain its flavor and potency.
What can I substitute for scotch bonnet peppers?
If scotch bonnet peppers are hard to find, you can substitute them with habanero peppers for a similar heat level. For a milder option, try using jalapeños or a mix of bell peppers and cayenne pepper.
Final Thoughts
There you have it, a delightful jerk seasoning recipe that’s sure to elevate your meals! Just imagine the aroma wafting through your kitchen as you whip up this flavorful blend. It’s simple, rewarding, and perfect for sharing with friends and family. So go ahead, sprinkle it on your favorite dishes, and let the good times roll. Enjoy every bite, and happy cooking!