Craving something delicious and easy to make? This frozen garlic bread recipe is your answer! With bold flavors and simple ingredients, you can whip up a side dish that elevates any meal in minutes. Whether you’re a busy mom juggling dinner or a professional looking for a quick treat, this easy frozen garlic bread will become your go to. Imagine the aroma of garlic wafting through your kitchen, making everyone eager to dig in. Let’s dive into this delightful recipe that promises to impress without the fuss!
INTRODUCTION
What is frozen garlic bread?
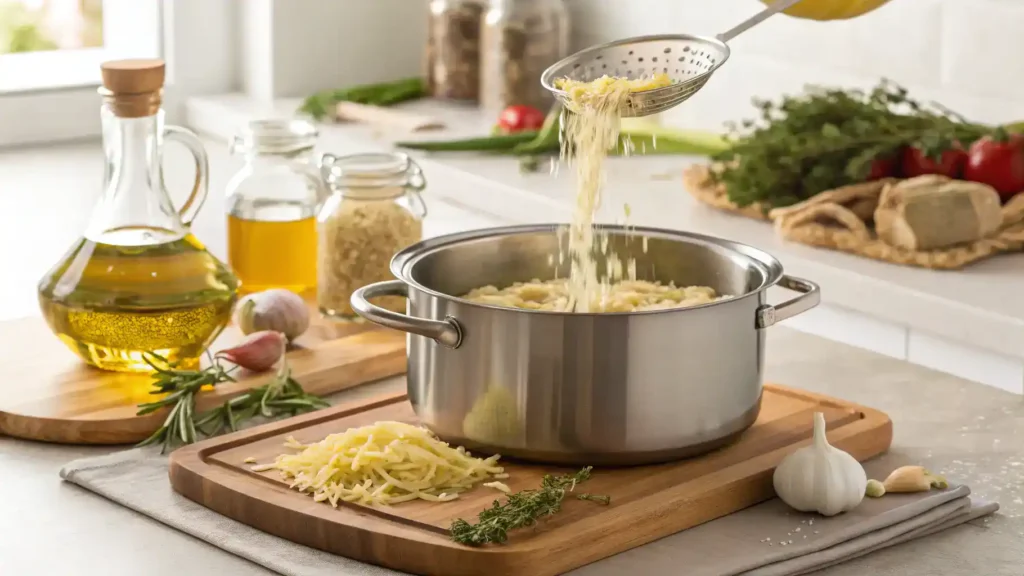
This frozen garlic bread is a delightful blend of fresh garlic, butter, and herbs, all slathered on a crispy bread base. It offers a convenient way to enjoy the rich flavors of garlic bread without the hassle of making it from scratch. Typically found in the freezer aisle, this product is pre-prepared and ready to bake, making it an ideal choice for busy households.
The flavor profile of frozen garlic bread is savory and aromatic, with the garlic providing a robust kick that pairs perfectly with the buttery richness. Each bite delivers a satisfying crunch, followed by a soft, warm interior that melts in your mouth. It’s the perfect accompaniment to pasta dishes, soups, or even as a standalone snack.
Why This frozen garlic bread is a Must-Try
This frozen garlic bread is a must-try for anyone looking to elevate their meal experience with minimal effort. Its convenience and flavor make it a staple in many kitchens.
- Versatile: Can be enjoyed any time of day.
- Flavor-packed: Bursting with fresh and complementary flavors.
- Easy to Make: Perfect for both beginners and seasoned cooks.
Keep reading to discover how you can make this mouthwatering frozen garlic bread at home!

frozen garlic bread
Ingredients
Equipment
Method
- Preheat your oven to 375°F (190°C). In a bowl, mix softened butter, minced garlic, chopped parsley, salt, and pepper until well combined.
- 1. Slice the loaf of bread in half lengthwise.
2. Spread the garlic butter mixture evenly on both halves.
3. If desired, sprinkle grated Parmesan cheese on top.
4. Wrap the bread in aluminum foil and place it on a baking sheet.
5. Bake for 15-20 minutes until heated through and golden.
- Remove from the oven, unwrap, and slice into pieces. Serve warm as a side dish or appetizer.
- For extra crispiness, broil for an additional 2-3 minutes after baking! Make a double batch and freeze one for later!
Notes
| Calories | Fat | Protein | Carbs |
|---|---|---|---|
| 200 | 10g | 3g | 25g |
Ingredients
Here are the key ingredients you’ll need to create the perfect frozen garlic bread.
Main Ingredients:
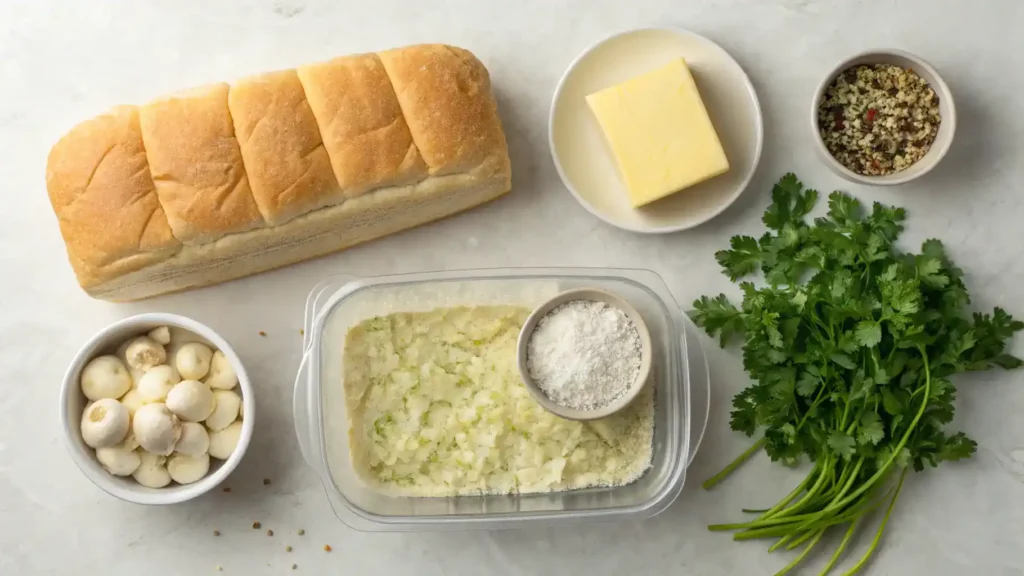
- Frozen Bread: Choose high-quality frozen bread for optimum flavor.
- Garlic: Fresh minced garlic adds a robust taste.
- Butter: Use unsalted butter for a rich, creamy texture.
- Parsley: Fresh or dried parsley enhances color and flavor.
- Salt: A pinch of salt elevates all the flavors.
Optional Additions & Enhancements:
- Cheese: Sprinkle some mozzarella or parmesan for a cheesy twist.
- Spices: Add red pepper flakes for a kick.
- Olive Oil: Drizzle for extra richness.
What do you like to add to your frozen garlic bread? Let us know in the comments!
How to Make Frozen Garlic Bread
Follow these simple steps to create your own frozen garlic bread that’s perfect for any meal!
Gather Ingredients:
- 1 loaf of French or Italian bread
- 1/2 cup unsalted butter, softened
- 4-6 cloves of garlic, minced
- 1/4 cup fresh parsley, chopped
- Salt and pepper to taste
- Optional: grated Parmesan cheese
Preparation:
Preheat your oven to 375°F (190°C). In a bowl, mix softened butter, minced garlic, chopped parsley, salt, and pepper until well combined.
Cooking Process:
- Slice the loaf of bread in half lengthwise.
- Spread the garlic butter mixture evenly on both halves.
- If desired, sprinkle grated Parmesan cheese on top.
- Wrap the bread in aluminum foil and place it on a baking sheet.
- Bake for 15-20 minutes until heated through and golden.
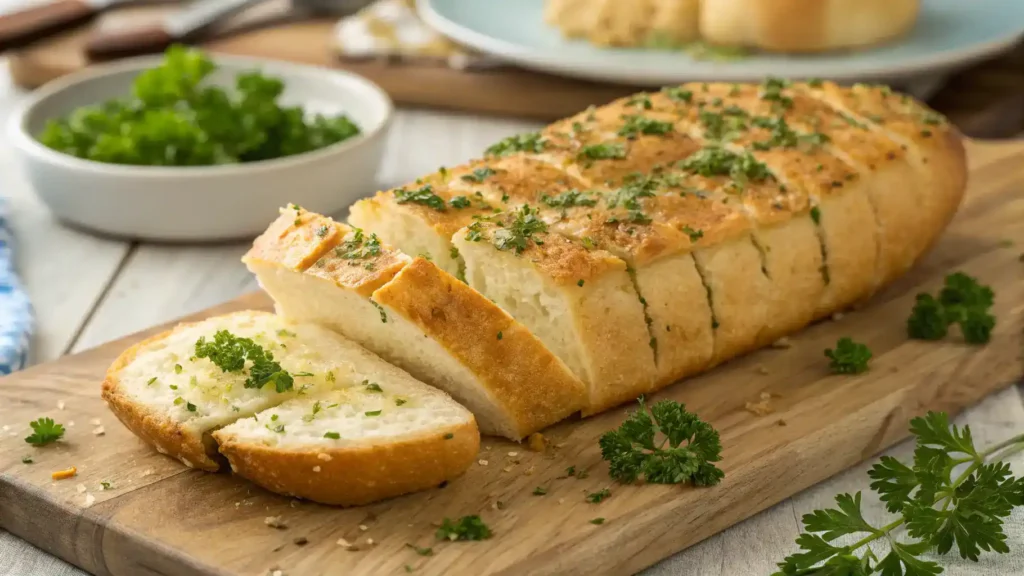
Assembly/Plating:
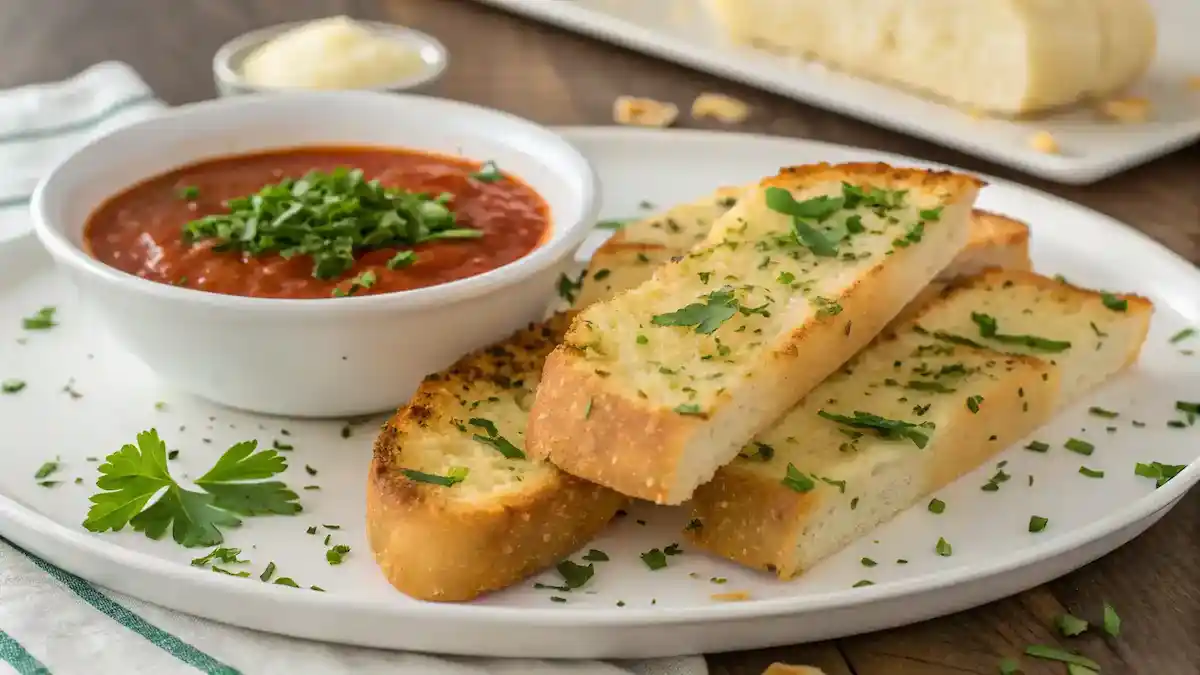
Remove from the oven, unwrap, and slice into pieces. Serve warm as a side dish or appetizer.
Pro Tips:
- Tip: For extra crispiness, broil for an additional 2-3 minutes after baking!
- Tip: Make a double batch and freeze one for later!
Variations sugggestgtions and Pairings for frozen garlic bread
Frozen garlic bread is a versatile dish that can be customized in numerous ways to suit your taste preferences. Whether you want to spice things up or add a unique twist, there are plenty of options to explore.
Variations:
Try a spicy version by adding a pinch of chili flakes. For a vegetarian twist, substitute butter with olive oil. Experiment with different cheeses like mozzarella or parmesan for a cheesy delight. Add fresh herbs like parsley or basil for an aromatic touch. For a gourmet experience, spread some pesto on top before baking.
Customizations:
Top your garlic bread with sliced tomatoes for freshness. Drizzle balsamic glaze for a tangy kick. Serve with marinara sauce for dipping. Sprinkle some grated cheese before baking for extra flavor. Add cooked spinach or artichokes for a hearty addition.
Serving and Pairings:
Frozen garlic bread pairs perfectly with pasta dishes like spaghetti or fettuccine. Serve alongside a fresh salad for a balanced meal. Enjoy with a glass of red wine for a cozy dinner. Complement with soups like minestrone or tomato basil for a comforting combo. Don’t forget to ask your family about their favorite variations!
Health Benefits of Frozen Garlic Bread
Frozen garlic bread isn’t just a delicious side; it also offers some surprising health benefits. The key ingredients, such as garlic and whole grain bread, contribute to its nutritional value. Garlic is known for its antioxidant properties, which can help boost your immune system. Whole grain bread provides fiber, essential for digestive health, and B vitamins, which support energy levels. Packed with protein and fiber, this frozen garlic bread supports a balanced diet, making it a smart choice for busy families.
Nutritional Value:
When you choose frozen garlic bread, you’re getting a mix of nutrients that can enhance your meals. Garlic contains allicin, which may help lower cholesterol and improve heart health. Whole grain options offer more vitamins and minerals than white bread, making your garlic bread not just tasty but also nutritious. Plus, the combination of flavors can make even the simplest meal feel gourmet!
Healthier Choices:
To make your frozen garlic bread even healthier, consider opting for low sodium options or making your own at home with whole grain bread. You can also add fresh herbs like parsley or basil for an extra nutrient boost. By choosing nutritious frozen garlic bread, you can enjoy a quick meal that aligns with your health goals, all while keeping your family satisfied and happy!
FAQS about frozen garlic bread
Here are some common questions about frozen garlic bread that can help you make the most of this delicious treat.
Can I substitute butter in this recipe?
Yes, you can substitute butter with olive oil or a plant based spread for a different flavor profile. This can also make the garlic bread dairy-free, catering to various dietary preferences.
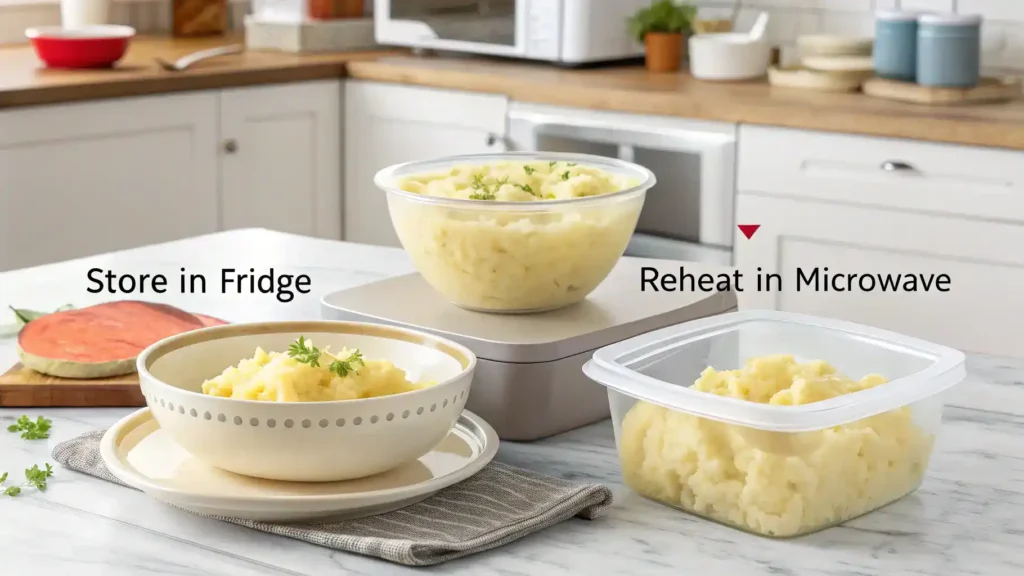
How long does frozen garlic bread last in the fridge?
Typically, it stays fresh for 3-5 days when stored properly in an airtight container. Make sure to keep it sealed to maintain its flavor and texture.
Can I make frozen garlic bread ahead of time?
Absolutely! Preparing it in advance can even enhance the flavors. Just freeze it before baking, and you’ll have a quick side dish ready whenever you need it.
What’s the best way to cook frozen garlic bread?
The best way to cook frozen garlic bread is to bake it in the oven at 375°F for about 10-15 minutes. This ensures a crispy exterior while keeping the inside soft and flavorful.
Conclusion
Frozen garlic bread is a game-changer for busy lives. With just a few minutes in the oven, you can enjoy a warm, buttery treat that elevates any meal. Whether you’re pairing it with pasta, soup, or just enjoying it on its own, this recipe is sure to impress. Now it’s your turn! Try this frozen garlic bread recipe and share your thoughts or favorite twists in the comments below!