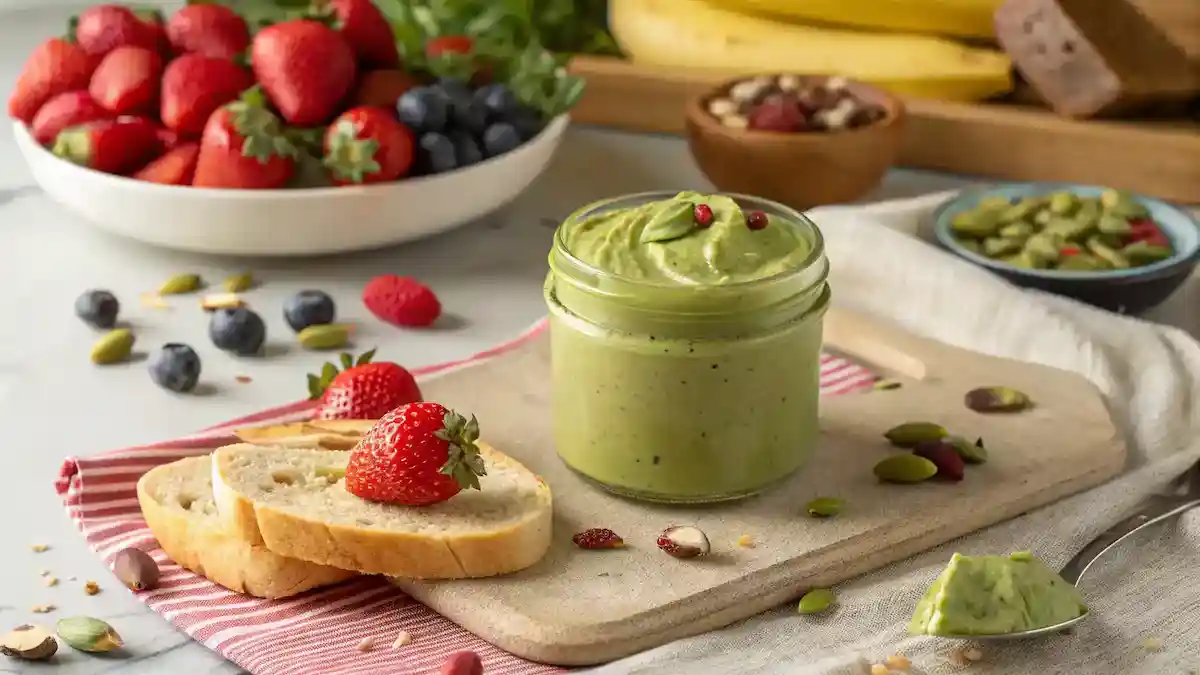
Pistachio butter is a luscious, nutty spread that will elevate your breakfast and snack game to new heights! Imagine spreading this vibrant green delight on warm toast, drizzling it over pancakes, or swirling it into your morning smoothie for a creamy twist. With its rich flavor and smooth texture, this homemade pistachio butter is not only easy to make but also packed with nutrients. Just blend roasted pistachios with a hint of honey and a pinch of salt, and you’ll have a dreamy concoction that’s perfect for any occasion. Dive in and enjoy the nutty goodness!
Why You’ll Love This Recipe
- Indulge in a creamy texture that melts in your mouth.
- Enjoy a nutritious boost packed with healthy fats and protein.
- Experience a unique flavor that’s both sweet and savory.
- Perfect for spreading, dipping, or adding to your favorite recipes.
- Easy to make at home with just a few simple ingredients!
pistachio butter
Ingredients
Equipment
Method
- Collect 2 cups of shelled pistachios, a pinch of salt, and 1-2 tablespoons of honey or maple syrup for sweetness.
- Preheat your oven to 350°F (175°C) to toast those lovely pistachios.
- Spread the pistachios on a baking sheet and toast for about 8-10 minutes, stirring halfway through. Keep an eye on them!
- Once toasted, let the pistachios cool for a few minutes. Patience is key!
- Transfer the cooled pistachios to a food processor. Blend until smooth, scraping down the sides as needed.
- Once creamy, add your pinch of salt and honey or maple syrup. Blend again until fully combined.
- If you prefer a thinner butter, add a teaspoon of neutral oil and blend until you reach your desired consistency.
- Transfer your pistachio butter to a jar and store it in the fridge. Enjoy within 2-3 weeks!
Recipe Snapshot
| Feature | Details |
|---|---|
| Category: | Spread |
| Cuisine: | Middle Eastern |
| Prep Time: | 10 minutes |
| Cook Time: | 0 minutes |
| Total Time: | 10 minutes |
| Dietary: | Vegan, Gluten-Free |
| Serves: | 4 |
| Best Served: | On toast, in smoothies |
Ingredients
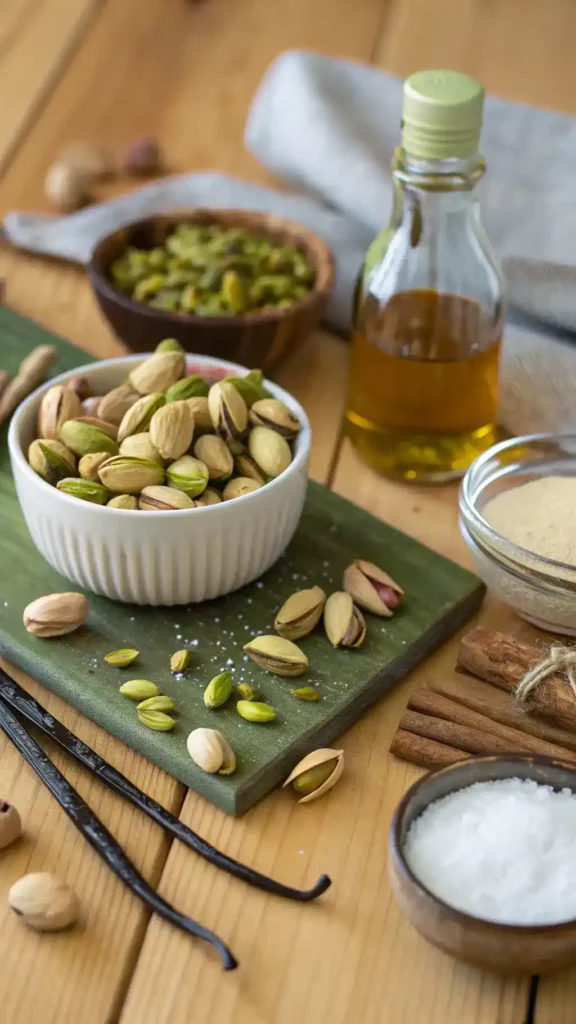
- Pistachios – the star of the show, providing a rich, nutty flavor.
- Salt – enhances the natural sweetness of the pistachios.
- Honey or Maple Syrup – adds a touch of sweetness; choose based on your preference.
- Oil (such as coconut or avocado) – helps achieve a smooth, creamy texture.
- Vanilla Extract – adds a warm, aromatic flavor that complements the pistachios.
Ingredients with measurements will be right under the article in the recipe card.
How to Make the Recipe
Get ready to whip up some delicious pistachio butter with these easy steps!
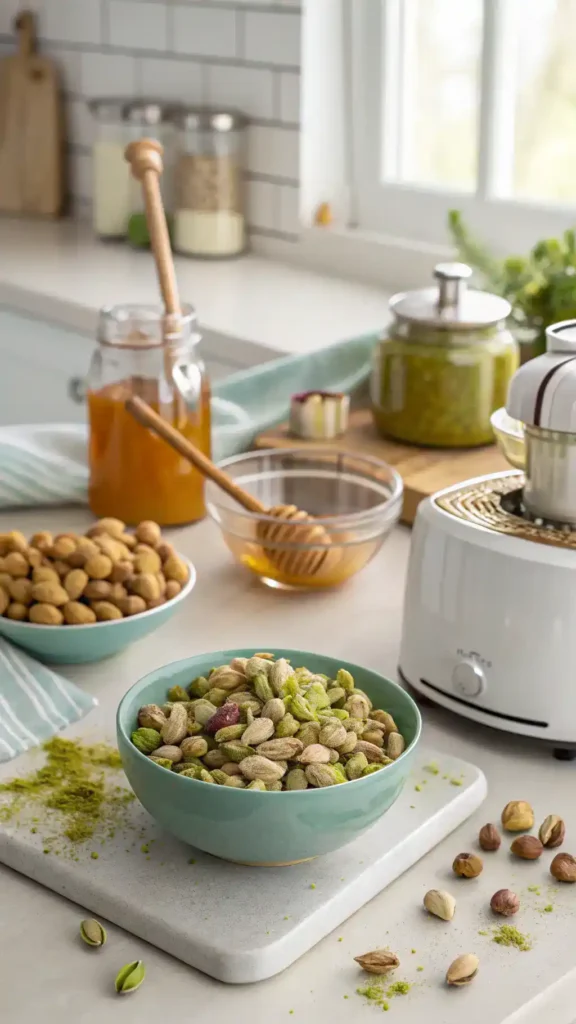
Step 1: Gather Your Ingredients
Collect 2 cups of shelled pistachios, a pinch of salt, and 1-2 tablespoons of honey or maple syrup for sweetness.
Step 2: Preheat Your Oven
Preheat your oven to 350°F (175°C) to toast those lovely pistachios.
Step 3: Toast the Pistachios
Spread the pistachios on a baking sheet and toast for about 8-10 minutes, stirring halfway through. Keep an eye on them!
Step 4: Let Them Cool
Once toasted, let the pistachios cool for a few minutes. Patience is key!
Step 5: Blend Away
Transfer the cooled pistachios to a food processor. Blend until smooth, scraping down the sides as needed.
Step 6: Add Sweetness
Once creamy, add your pinch of salt and honey or maple syrup. Blend again until fully combined.
Step 7: Adjust Consistency
If you prefer a thinner butter, add a teaspoon of neutral oil and blend until you reach your desired consistency.
Step 8: Store Your Creation
Transfer your pistachio butter to a jar and store it in the fridge. Enjoy within 2-3 weeks!
Pro Tips for Making the Recipe
- Use roasted pistachios for a deeper flavor.
- Add a pinch of salt to enhance the sweetness.
- Blend in a bit of coconut oil for extra creaminess.
- Experiment with honey or maple syrup for natural sweetness.
- Store in an airtight container to keep it fresh longer.
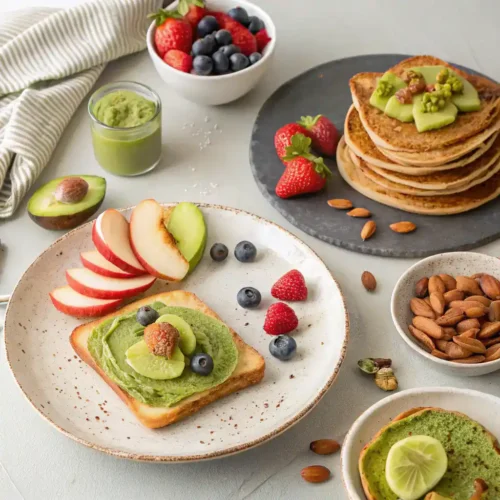
How to Serve
Here are some delightful ways to enjoy your pistachio butter:
- Spread it on warm toast for a nutty breakfast treat.
- Use it as a dip for fresh apple or pear slices.
- Swirl it into your morning oatmeal or yogurt for added creaminess.
- Drizzle it over pancakes or waffles for a unique twist.
- Mix it into smoothies for a protein-packed boost.
- Pair it with dark chocolate for a decadent dessert.
- Use it as a filling for crepes or pastries.
- Combine it with honey for a sweet and savory sandwich spread.
Make Ahead and Storage
Storing Leftovers
•Allow pistachio butter to cool completely before storing.
•Transfer to an airtight container.
•Store in the refrigerator for up to two weeks.
•Label the container with the date for easy tracking.
Freezing
•Use a freezer-safe container or silicone ice cube tray.
•Portion out the pistachio butter for easy use.
•Seal tightly to prevent freezer burn.
•Label with the date and freeze for up to three months.
Reheating
•Thaw in the refrigerator overnight before using.
•For quick thawing, place the container in warm water.
•Stir well after reheating to restore creaminess.
•Avoid using the microwave as it can alter texture.
you van visit our breakfast, lunch, dinner and desserts recipes from here:
Breakfast, Lunch, Dinner, Dessert / Cake
FAQs
What is pistachio butter made of?
Pistachio butter is primarily made from roasted pistachios, which are blended until smooth. You can add a pinch of salt or a drizzle of honey for extra flavor, but the main ingredient is simply the nuts themselves!
How can I use pistachio butter in recipes?
Pistachio butter is incredibly versatile! You can spread it on toast, mix it into smoothies, or use it as a dip for fruits. It also works wonderfully in baking, adding a unique flavor to cookies and cakes.
Can I make pistachio butter at home?
Absolutely! Making pistachio butter at home is easy. Just roast the pistachios, let them cool, and blend them in a food processor until creamy. It’s a fun and rewarding process!
How should I store pistachio butter?
Store your pistachio butter in an airtight container in the refrigerator. It can last for several weeks, but it’s so delicious you might finish it much sooner!
Final Thoughts
So there you have it—your new favorite treat, pistachio butter! It’s creamy, dreamy, and oh-so-simple to whip up. Spread it on toast, swirl it into smoothies, or just enjoy it by the spoonful! Remember, the joy of making this delightful spread is just as rewarding as savoring it. Dive in, share it with friends, and let the nutty goodness take you back to those cozy moments. Enjoy!