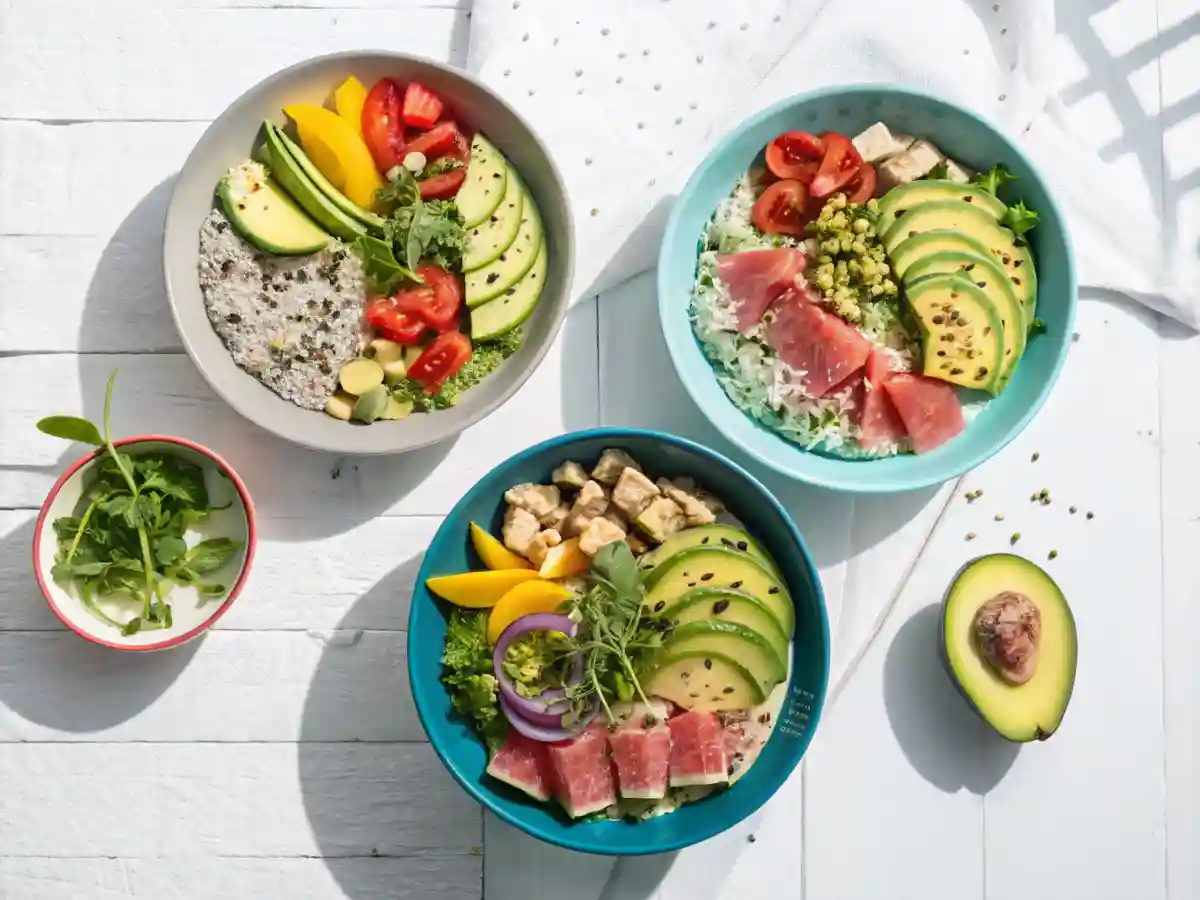
Chickpea Salad Cups are a delightful and nutritious way to enjoy a variety of flavors in a single bite. These plant-based snacks are perfect for any occasion, whether you’re hosting a party or looking for healthy snacks to enjoy at home.
What are Chickpea Salad Cups?
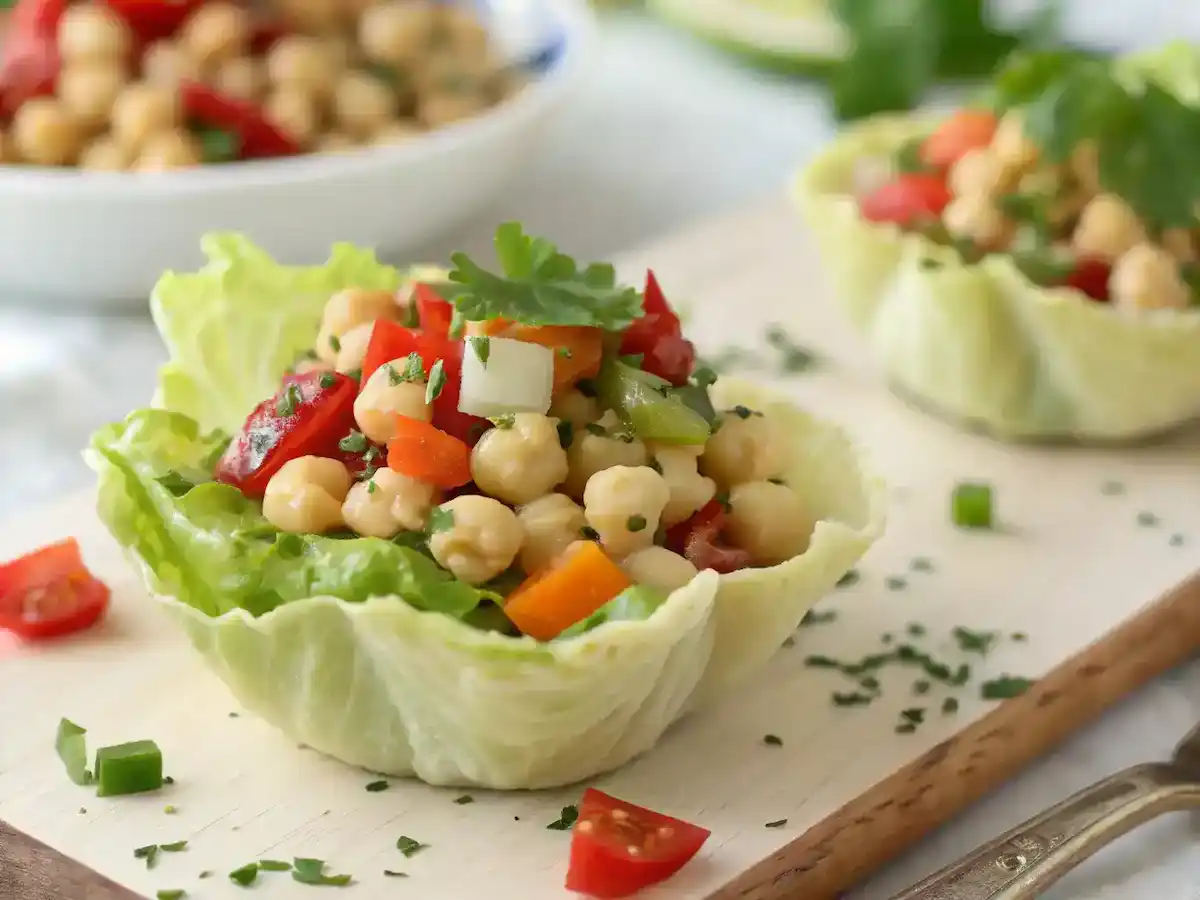
Chickpea Salad Cups consist of a base made from chickpeas, mixed with fresh vegetables, herbs, and a zesty dressing. They are often served in edible cups made from lettuce, pita, or other creative vessels. This makes them not only visually appealing but also easy to eat.
Why Choose Chickpea Salad Cups?
Chickpea Salad Cups are packed with protein and fiber, making them a filling option for quick meals. They are versatile and can be customized to suit various dietary preferences, including vegetarian recipes. Additionally, they are easy to prepare, making them ideal for easy appetizers or healthy snacks. Enjoying chickpea recipes like these can contribute to a balanced diet while satisfying your taste buds.
Chickpea Salad Cups
Ingredients
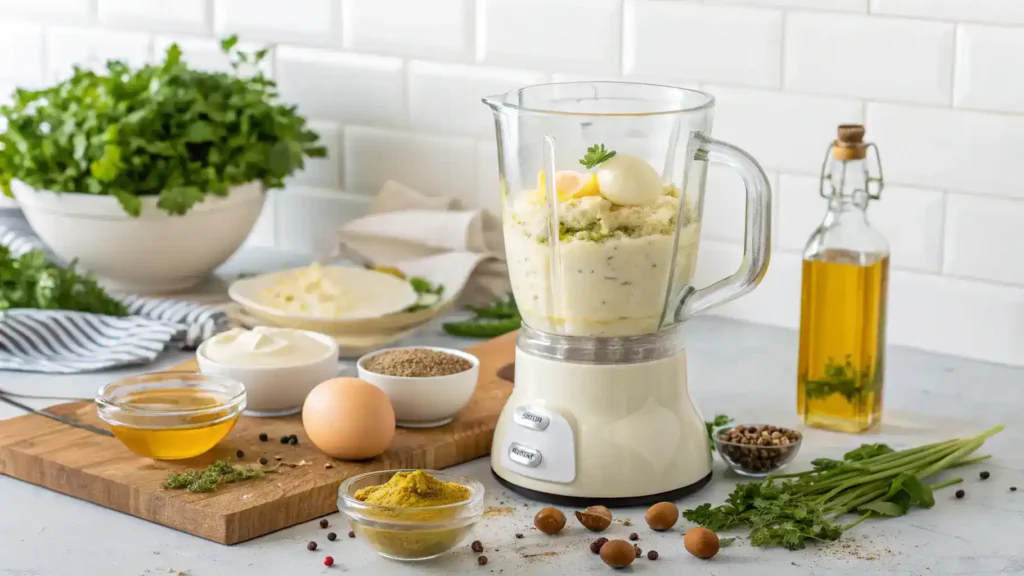
Equipment
Method
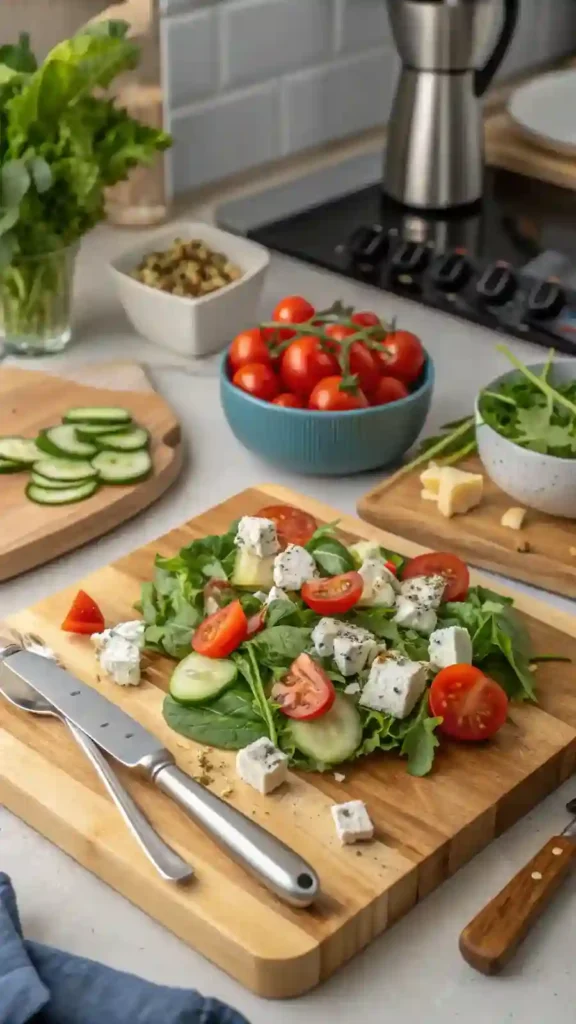
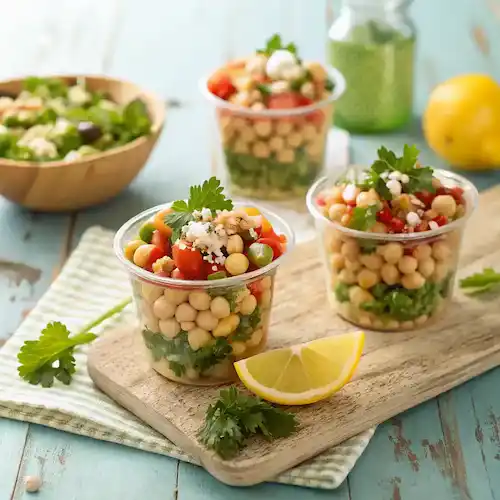
- In a mixing bowl, combine chickpeas, diced cucumbers, diced tomatoes, feta cheese, olive oil, lemon juice, salt, and pepper. Mix well.
- Take a lettuce leaf and fill it with the chickpea mixture. Arrange on a serving platter and serve immediately.
Notes
| Calories | Fat | Protein | Carbs |
|---|---|---|---|
| 250 | 10g | 8g | 30g |
Ingredients for Chickpea Salad Cups

Creating delicious Chickpea Salad Cups starts with the right ingredients. Here’s a breakdown of what you’ll need to make these healthy snacks a hit.
Main Ingredients
– 1 can of chickpeas, drained and rinsed
– 1 cup of diced cucumbers
– 1 cup of cherry tomatoes, halved
– 1/2 red onion, finely chopped
– 1/4 cup of fresh parsley, chopped
– 1/4 cup of feta cheese, crumbled (optional)
– 2 tablespoons of olive oil
– 1 tablespoon of lemon juice
– Salt and pepper to taste
Optional Add-ins
– Avocado, diced
– Bell peppers, diced
– Corn, canned or fresh
– Black olives, sliced
– Hummus for a creamy base
– Spices like cumin or paprika for extra flavor
How to Make Chickpea Salad Cups
Chickpea Salad Cups are a delightful way to enjoy healthy snacks packed with flavor. These vegetarian recipes are not only nutritious but also serve as easy appetizers for any gathering. Follow these simple steps to create your own delicious salad cups.
Step-by-Step Instructions
1. Gather your ingredients: canned chickpeas, diced vegetables, herbs, and dressing.
2. Rinse and drain the chickpeas thoroughly.
3. In a bowl, combine chickpeas, diced cucumbers, bell peppers, and red onions.
4. Add fresh herbs like parsley or cilantro for extra flavor.
5. Drizzle your favorite dressing over the mixture and toss gently.
6. Spoon the chickpea salad into lettuce leaves or small cups.
7. Serve immediately or chill for a refreshing snack.
Tips for Perfecting Your Salad Cups
– Use fresh, seasonal vegetables for the best taste.
– Experiment with different dressings to find your favorite flavor.
– Add avocado or feta cheese for creaminess.
– Make ahead of time for quick meals during busy days.
– Customize with spices like cumin or paprika for added depth.
Serving Suggestions
Chickpea Salad Cups are versatile and can be enjoyed in various ways. Here are some serving suggestions to elevate your experience.
Best Pairings
1. Whole grain pita bread for added texture.
2. Fresh vegetable sticks like carrots and cucumbers for crunch.
3. A side of hummus for a creamy dip.
4. Quinoa or brown rice for a heartier meal.
5. A light vinaigrette to enhance flavors.
Presentation Ideas
1. Use colorful lettuce leaves as cups for a vibrant look.
2. Garnish with fresh herbs like parsley or cilantro.
3. Serve on a wooden platter for a rustic feel.
4. Add edible flowers for a touch of elegance.
5. Use small mason jars for individual servings.
Nutritional Benefits
Chickpea Salad Cups are not just delicious; they are packed with nutritional benefits that make them an excellent choice for healthy snacks. These plant-based snacks are rich in protein, fiber, and essential vitamins, making them a perfect addition to your diet.
Health Benefits of Chickpeas
Chickpeas are a powerhouse of nutrients. They help in weight management due to their high fiber content, which promotes satiety. They are also known to support heart health by lowering cholesterol levels. Additionally, chickpeas are a great source of plant-based protein, making them ideal for vegetarians and vegans.
Why Salad Cups are a Healthy Choice
Salad cups offer a convenient way to enjoy a variety of vegetables and legumes. They are low in calories yet high in nutrients, making them a smart choice for quick meals. The combination of chickpeas and fresh veggies in salad cups provides a balanced meal that is both satisfying and nutritious.
If you enjoy simple, plant-based meals, check out our Chia Berry Pudding a fruity, no-cook breakfast that’s perfect for warm-weather mornings.
FAQs
Here are some common questions about Chickpea Salad Cups that can help you make the most of this delicious dish.
Can I make Chickpea Salad Cups ahead of time?
Yes, you can prepare Chickpea Salad Cups ahead of time. Store the chickpea mixture in an airtight container in the refrigerator for up to 3 days. Assemble the cups just before serving to keep the salad fresh and crisp.
What can I substitute for chickpeas?
If you need a substitute for chickpeas, consider using black beans, white beans, or lentils. These alternatives maintain a similar texture and can complement the flavors in your salad cups.
Final Thoughts
These Chickpea Salad Cups have become one of my go to summer lunches they’re quick, fresh, and packed with plant-based goodness. Whether you’re meal prepping for the week or just craving something crisp and satisfying, this recipe delivers every time.
The best part? No cooking, no mess, and no guilt. Just real, wholesome ingredients that leave you feeling light but nourished. Try them once, and they might just become your favorite no-cook meal too.