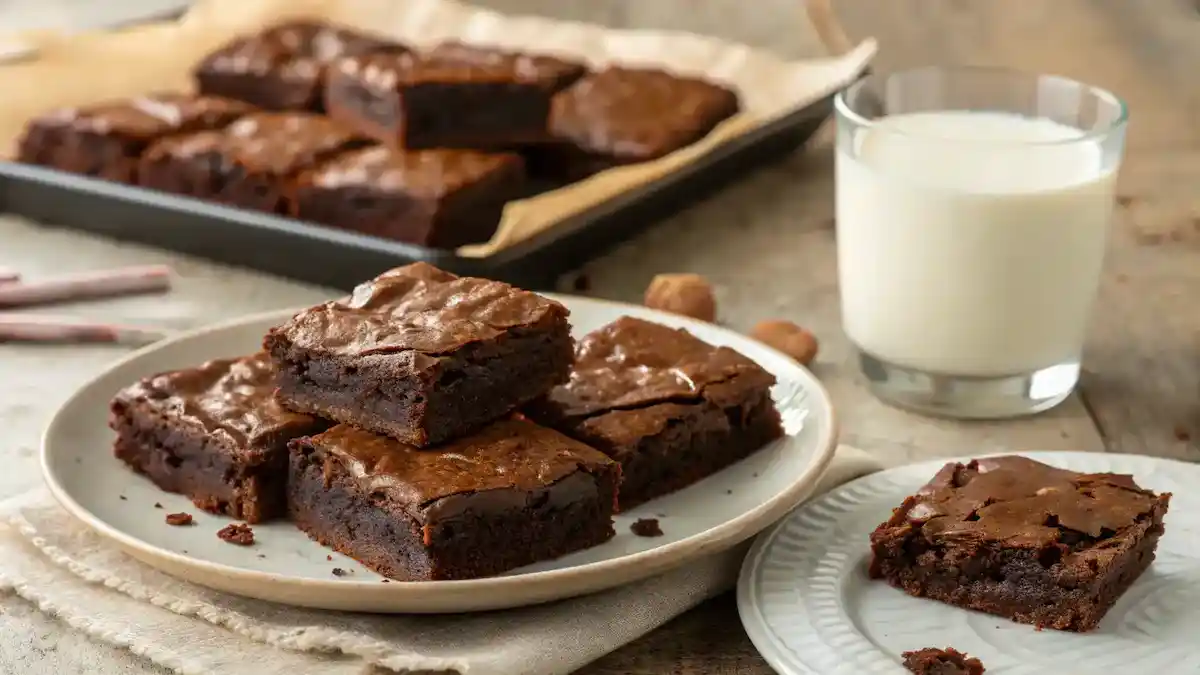
These brownies are a nostalgic treat that will take you back to carefree school days! With a rich, fudgy texture and a sprinkle of love, this 50-year-old recipe is a true gem. Made with simple ingredients like cocoa powder, butter, and a touch of vanilla, they’re easy to whip up and even easier to devour. For a variation that includes a rich chocolate frosting poured over warm brownies, consider this version from The Girl Who Ate Everything: https://www.the-girl-who-ate-everything.com/lunch-lady-brownies/. Each bite is a delightful blend of chocolatey goodness that will have you reminiscing and reaching for seconds. Perfect for sharing or keeping all to yourself—either way, you’re in for a sweet, sweet time!
Why You’ll Love This Recipe
- Trust me, you’re going to love this rich, fudgy texture!
- This one’s a game-changer for quick and easy dessert cravings.
- It’s a nostalgic treat that brings back childhood memories.
- Simple ingredients mean you can whip these up anytime!
- Perfect for sharing or keeping all to yourself—no judgment here!
Recipe Snapshot
| Feature | Details |
|---|---|
| Category | Side Dish |
| Cuisine | American-inspired comfort food |
| Prep Time | 10 minutes |
| Cook Time | 15 minutes |
| Total Time | 25 minutes |
| Dietary | Vegetarian |
| Serves | 4 |
| Best Served | Hot and cheesy right off the cob! |
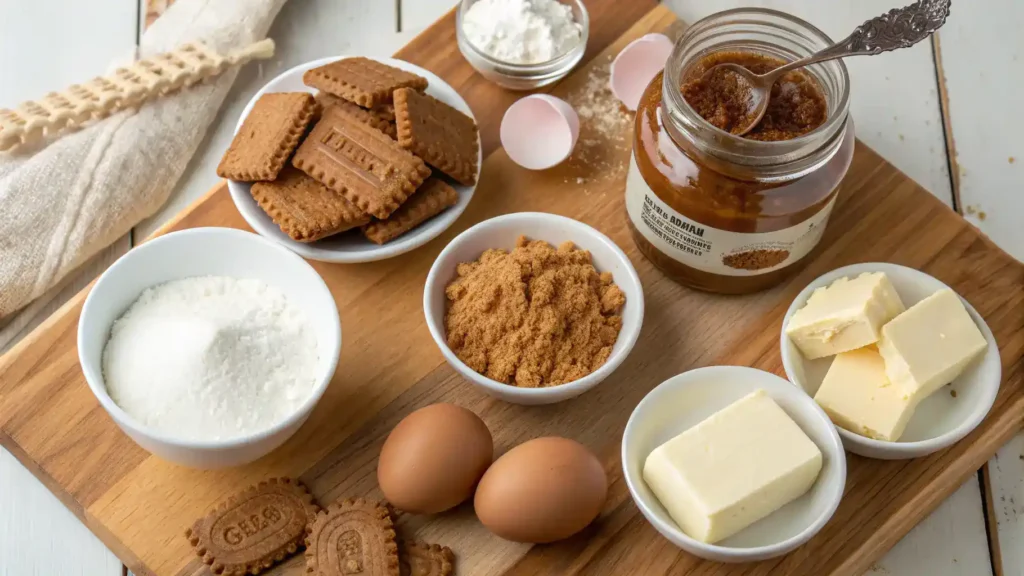
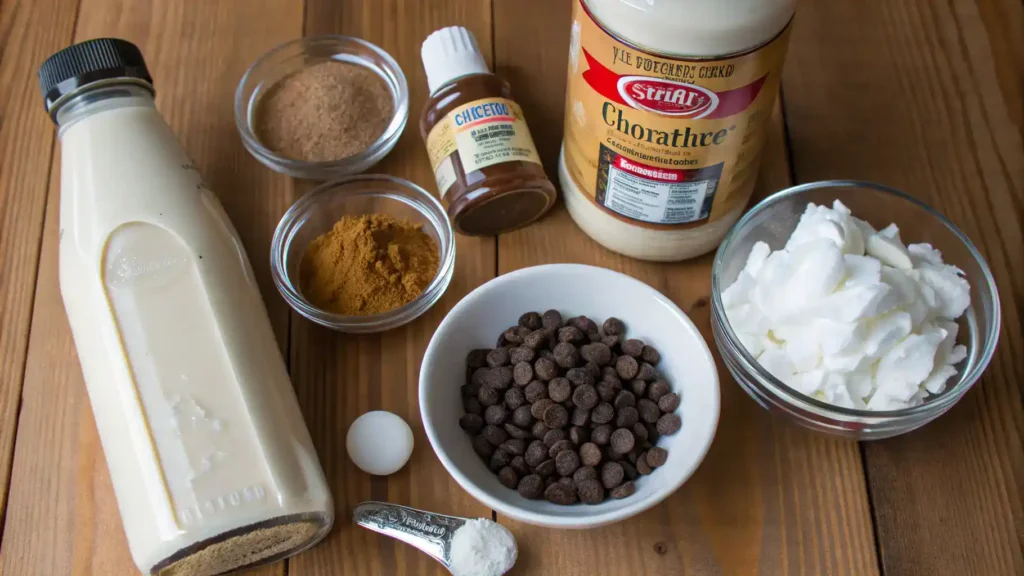
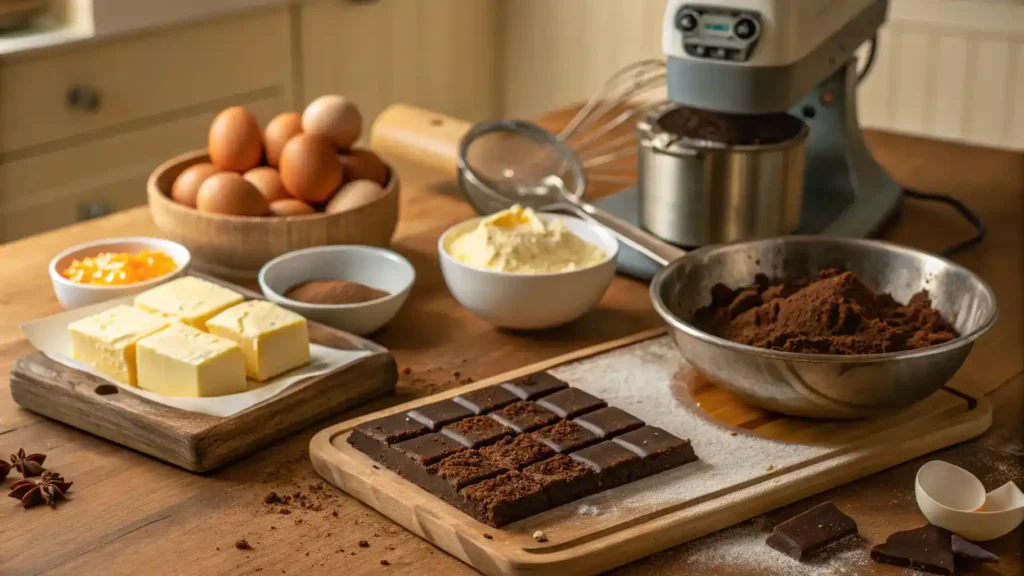
Ingredients
- All-purpose flour – a key base for that chewy texture.
- Cocoa powder – adds rich chocolate flavor; use unsweetened for best results.
- Granulated sugar – sweetens the brownies and helps create a fudgy consistency.
- Brown sugar – enhances moisture and adds a hint of caramel flavor.
- Baking powder – gives the brownies a little lift for a perfect texture.
- Salt – balances sweetness and enhances overall flavor.
- Butter – provides richness; use unsalted for better control over saltiness.
- Eggs – bind ingredients together and contribute to the fudgy texture.
- Vanilla extract – adds depth and enhances the chocolate flavor.
- Chocolate chips – for extra chocolatey goodness; choose semi-sweet or dark.
Ingredients with measurements will be right under the article in the recipe card.
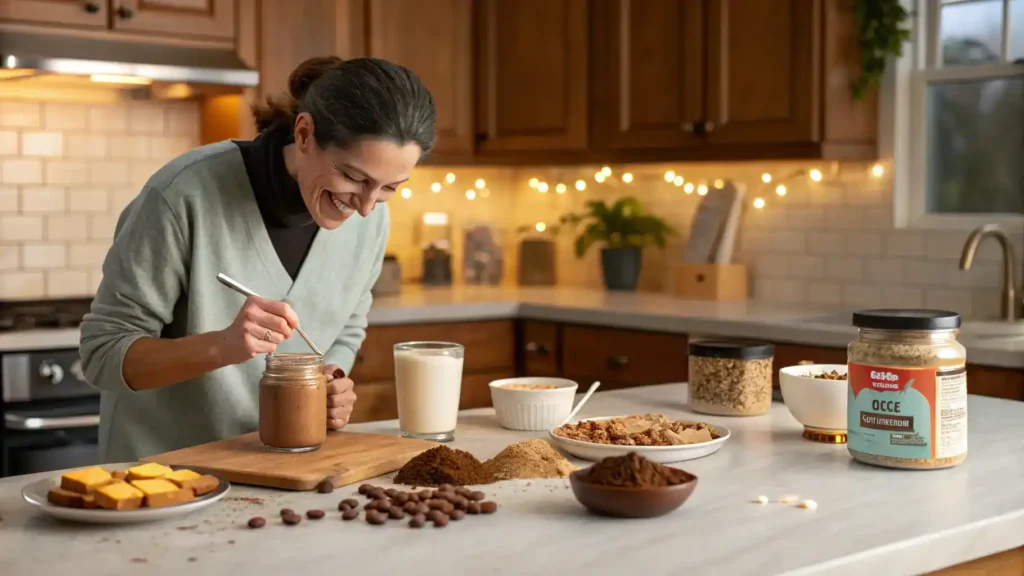
How to Make the Recipe
Get ready to whip up some delicious Lunchroom Ladies Brownies with this easy-to-follow recipe!
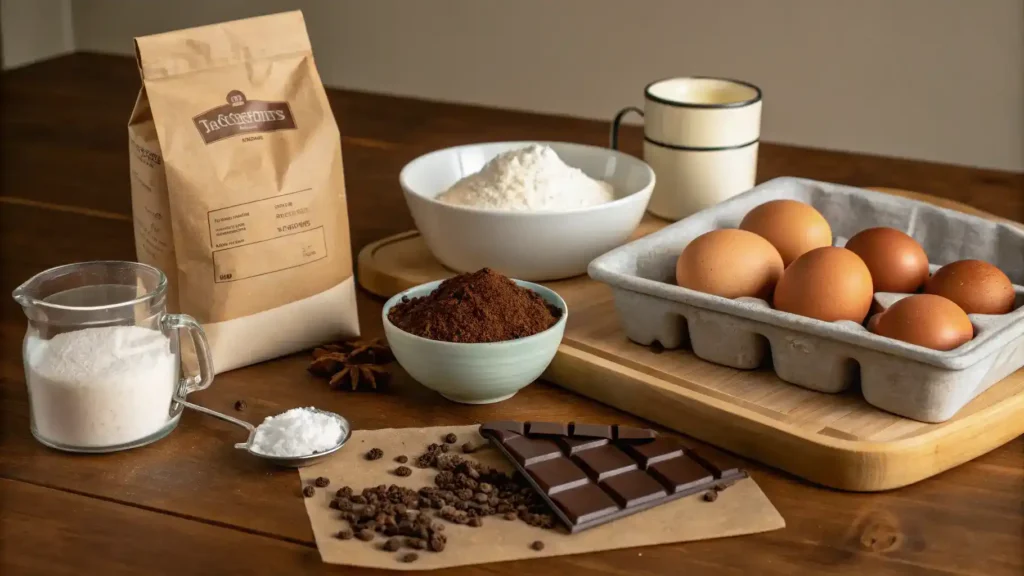
Step 1: Gather Your Ingredients
Collect 1 cup of unsalted butter, 2 cups of sugar, 4 large eggs, 1 teaspoon of vanilla extract, 1 cup of all-purpose flour, 1 cup of cocoa powder, 1 teaspoon of baking powder, and a pinch of salt.
Step 2: Preheat the Oven
Preheat your oven to 350°F (175°C) to get it nice and warm for baking.
Step 3: Melt the Butter
In a saucepan, melt the butter over low heat. Stir it gently until it’s completely melted and smooth.
Step 4: Mix in Sugar and Eggs
Remove the saucepan from heat. Stir in the sugar until well combined, then add the eggs one at a time, mixing well after each addition.
Step 5: Add Vanilla
Pour in the vanilla extract and give it a good stir to incorporate all the flavors.
Step 6: Combine Dry Ingredients
In a separate bowl, whisk together the flour, cocoa powder, baking powder, and salt.
Step 7: Mix Dry and Wet Ingredients
Gradually add the dry mixture to the wet ingredients, stirring until just combined. Don’t overmix; a little lumpiness is okay!
Step 8: Pour into Baking Pan
Grease a 9×13 inch baking pan and pour the brownie batter into it, spreading it evenly.
Step 9: Bake
Place the pan in the preheated oven and bake for 25-30 minutes. Keep an eye on them; they’re done when a toothpick inserted comes out with a few moist crumbs.
Step 10: Cool and Cut
Let the brownies cool in the pan for about 10 minutes, then transfer to a wire rack to cool completely before cutting into squares.
Step 11: Enjoy!
Serve your delicious brownies warm or at room temperature. Enjoy the sweet nostalgia!
Pro Tips for Making the Recipe

•Use room temperature eggs for better mixing and texture.
•Don’t overmix the batter; mix just until combined for fudgier brownies.
•Try adding a pinch of sea salt on top before baking for a flavor boost.
•For extra richness, substitute half the butter with unsweetened applesauce.
•Let the brownies cool completely before cutting for cleaner edges.
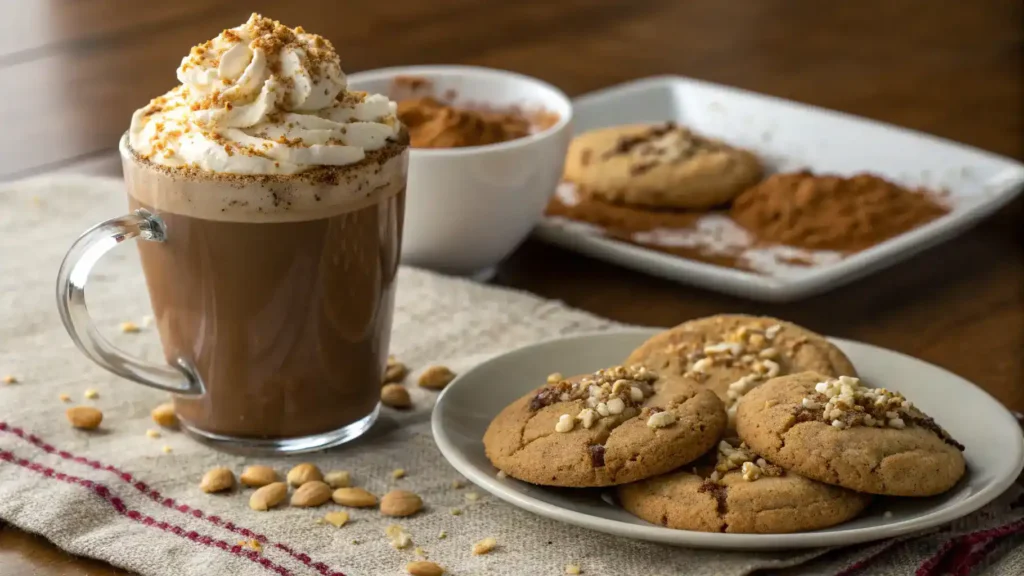
How to Serve
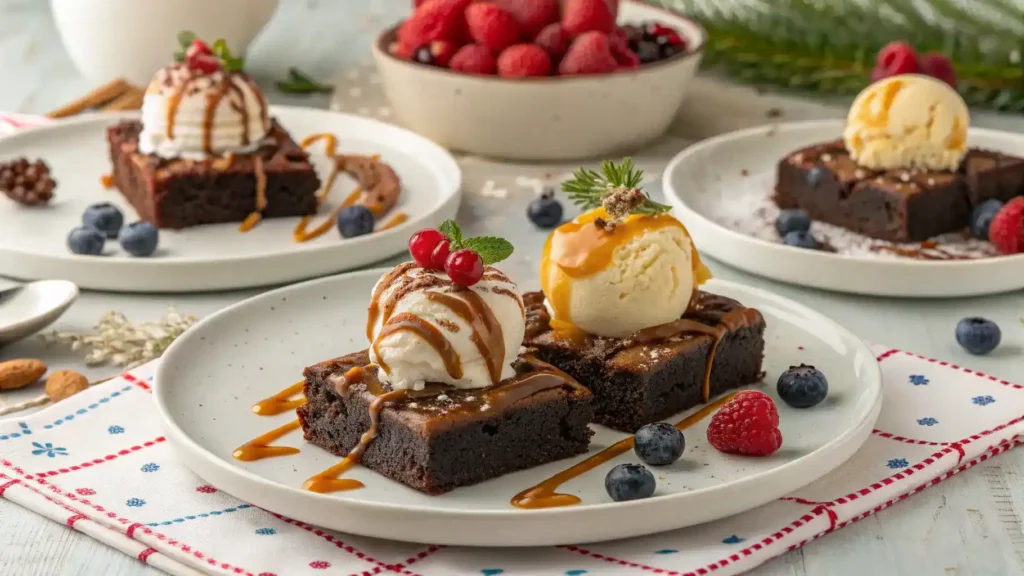
Enjoy your Lunchroom Ladies Brownies with these delightful serving suggestions:
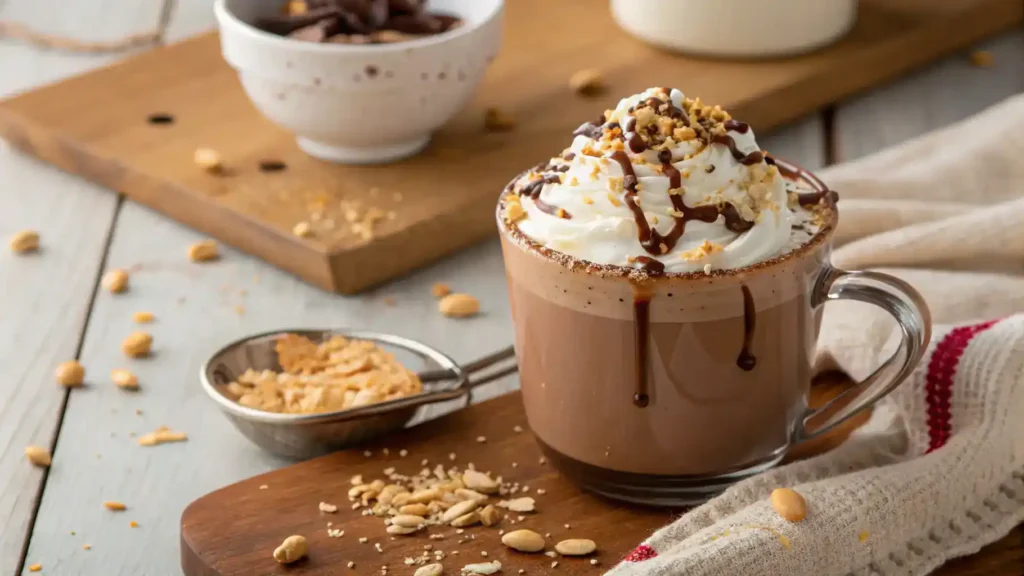
- Top with a scoop of vanilla ice cream for a decadent dessert.
- Drizzle with caramel or chocolate sauce for an extra sweet touch.
- Serve warm with a dollop of whipped cream and fresh berries.
- Pair with a glass of cold milk or a creamy almond milk alternative.
- Cut into bite-sized squares for a fun party treat.
- Pack in lunchboxes for a sweet surprise during the day.
- Enjoy with a cup of coffee or herbal tea for a cozy afternoon snack.
Make Ahead and Storage
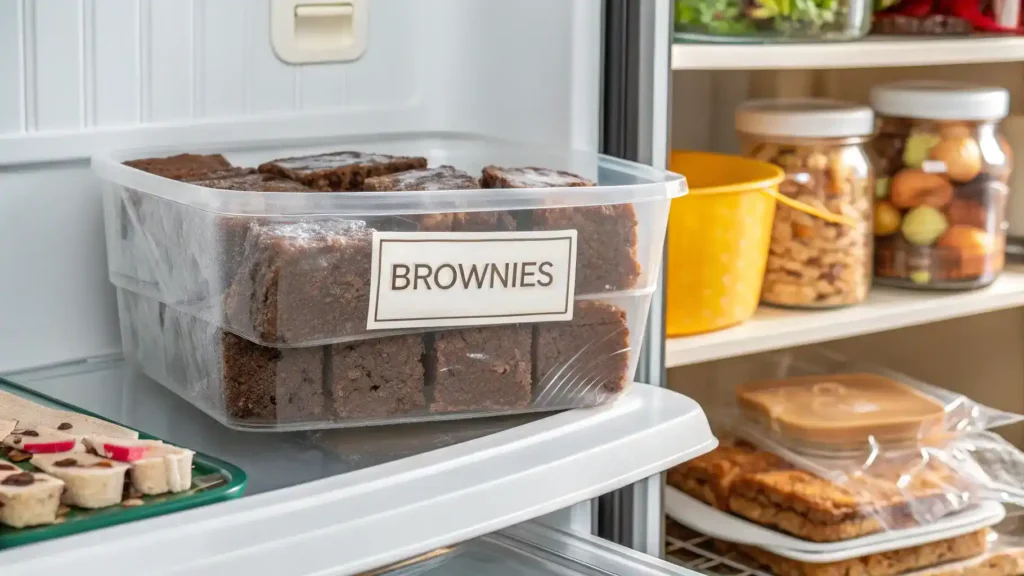
Storing Leftovers
To keep your brownies fresh:
- Allow brownies to cool completely.
- Wrap them tightly in plastic wrap.
- Place in an airtight container.
- Store at room temperature for up to 3 days.
- For longer storage, refrigerate for up to a week.
Freezing
To freeze your brownies:
- Cool brownies completely before freezing.
- Cut into squares for easy serving.
- Wrap each square in plastic wrap.
- Place wrapped brownies in a freezer-safe bag.
- Label with the date and freeze for up to 3 months.
Reheating
To reheat your brownies:
- Remove from the freezer and let thaw in the fridge overnight.
- Preheat the oven to 350°F (175°C).
- Place brownies on a baking sheet.
- Heat for 10-15 minutes until warm.
- Enjoy with a scoop of ice cream for extra delight!
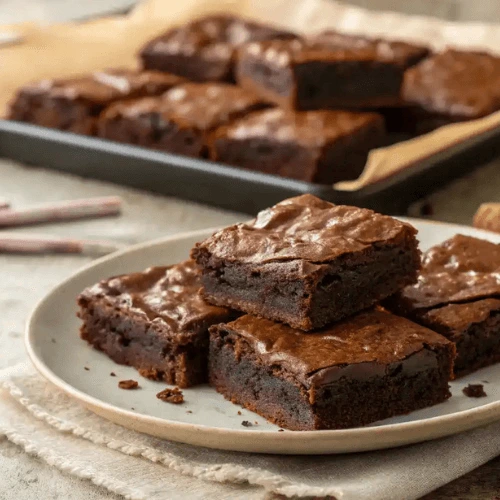
Lunchroom Ladies Brownies 50 year old recipe
Ingredients
Equipment
Method
- Collect all ingredients: 1 cup of unsalted butter, 2 cups of sugar, 4 large eggs, 1 teaspoon of vanilla extract, 1 cup of all-purpose flour, 1 cup of cocoa powder, 1 teaspoon of baking powder, and a pinch of salt.
- Preheat your oven to 350°F (175°C) to get it nice and warm for baking.
- In a saucepan, melt the butter over low heat. Stir it gently until it’s completely melted and smooth.
- Remove the saucepan from heat. Stir in the sugar until well combined, then add the eggs one at a time, mixing well after each addition.
- Pour in the vanilla extract and give it a good stir to incorporate all the flavors.
- In a separate bowl, whisk together the flour, cocoa powder, baking powder, and salt.
- Gradually add the dry mixture to the wet ingredients, stirring until just combined. Don’t overmix; a little lumpiness is okay!
- Grease a 9×13 inch baking pan and pour the brownie batter into it, spreading it evenly.
- Place the pan in the preheated oven and bake for 25-30 minutes. Keep an eye on them; they’re done when a toothpick inserted comes out with a few moist crumbs.
- Let the brownies cool in the pan for about 10 minutes, then transfer to a wire rack to cool completely before cutting into squares.
- Serve your delicious brownies warm or at room temperature. Enjoy the sweet nostalgia!
more recipes
FAQs
What makes Lunchroom Ladies Brownies special?
These brownies are cherished for their rich, fudgy texture and nostalgic flavor. The 50-year-old recipe has stood the test of time, bringing back memories of school lunches and shared treats. Each bite is a delightful reminder of simpler times, making them a favorite for many.
Can I substitute ingredients in this recipe?
Absolutely! If you need to make substitutions, you can use applesauce or yogurt instead of eggs for a vegan option. For a dairy-free version, try using almond milk or coconut oil instead of butter. These swaps will still yield delicious brownies!
How should I store the brownies?
To keep your brownies fresh, store them in an airtight container at room temperature for up to a week. If you want to keep them longer, you can freeze them. Just wrap them tightly in plastic wrap and place them in a freezer-safe bag.
Can I add mix-ins to the brownies?
Definitely! Feel free to get creative by adding chocolate chips, nuts, or even dried fruit. Just be mindful of the total volume so that the brownies maintain their fudgy texture. Mix-ins can add a delightful twist to the classic recipe!
Final Thoughts
There you have it—Lunchroom Ladies Brownies, a delightful treat that’s been loved for 50 years! Whip up this simple recipe and savor the rich, fudgy goodness that will surely bring back sweet memories. Whether you’re sharing with friends or indulging solo, these brownies are a warm hug in dessert form. So, preheat that oven and get ready for a delicious adventure—happy baking!