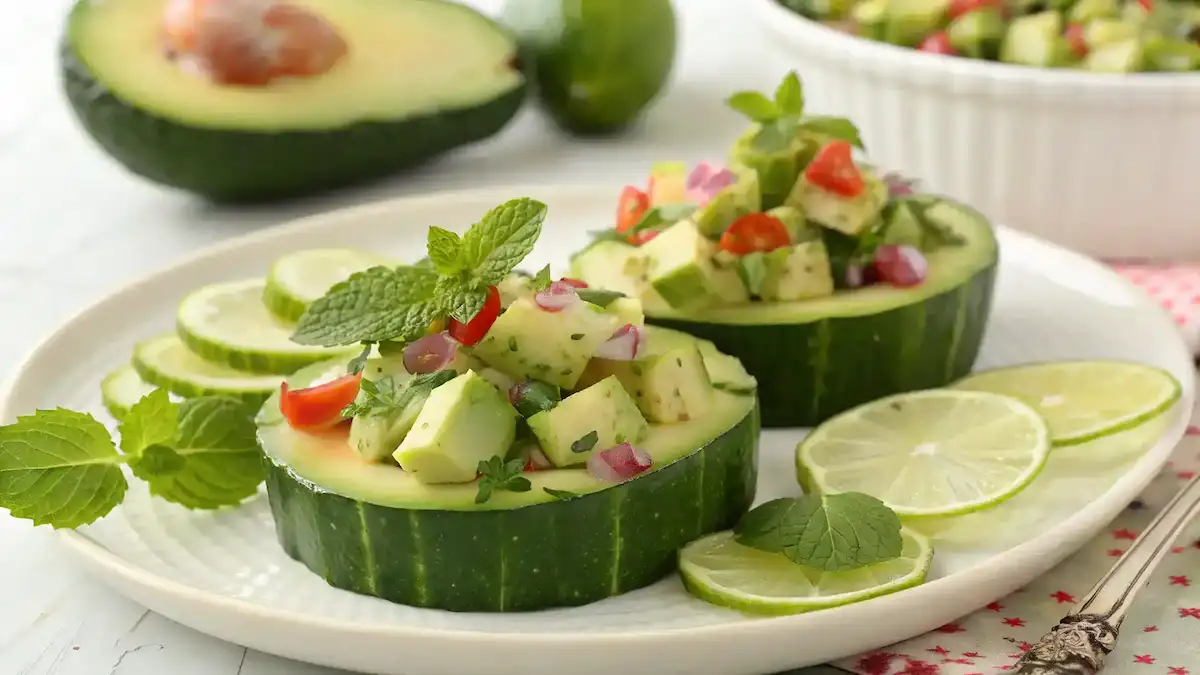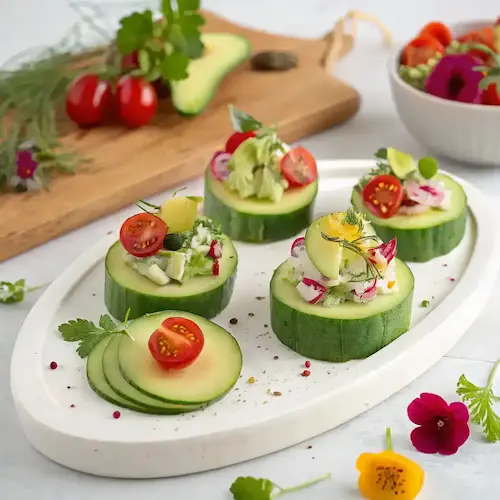
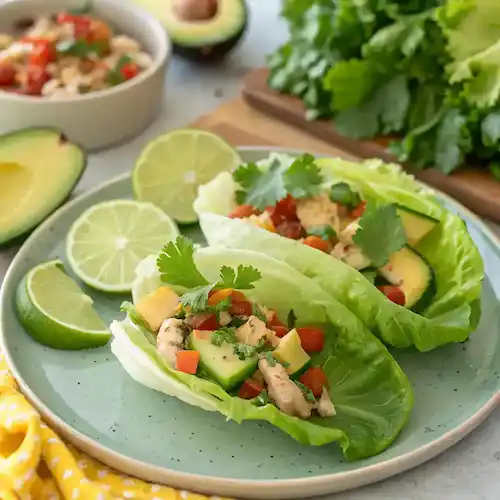
Avocado Chicken Lettuce Wraps are a vibrant, fresh twist on your typical meal! Picture tender, seasoned chicken mingling with creamy avocado, all nestled in crisp lettuce leaves. Each bite bursts with flavor, enhanced by zesty lime juice and a sprinkle of cilantro, making it a refreshing delight. These wraps are not just a feast for the taste buds; they’re also a healthy option that’s perfect for lunch or a light dinner. Dive into this playful, nutritious dish that’s sure to impress your family and friends while keeping things light and fun!
Why You’ll Love This Avocado Chicken Lettuce Wraps
- Deliciously creamy avocado adds a rich flavor.
- Low-carb and gluten-free, perfect for healthy eating.
- Quick to prepare, making it a great weeknight meal.
- Customizable with your favorite veggies and spices.
- Fun to eat and perfect for gatherings or meal prep!
Avocado Chicken Lettuce Wraps
Ingredients
Equipment
Method
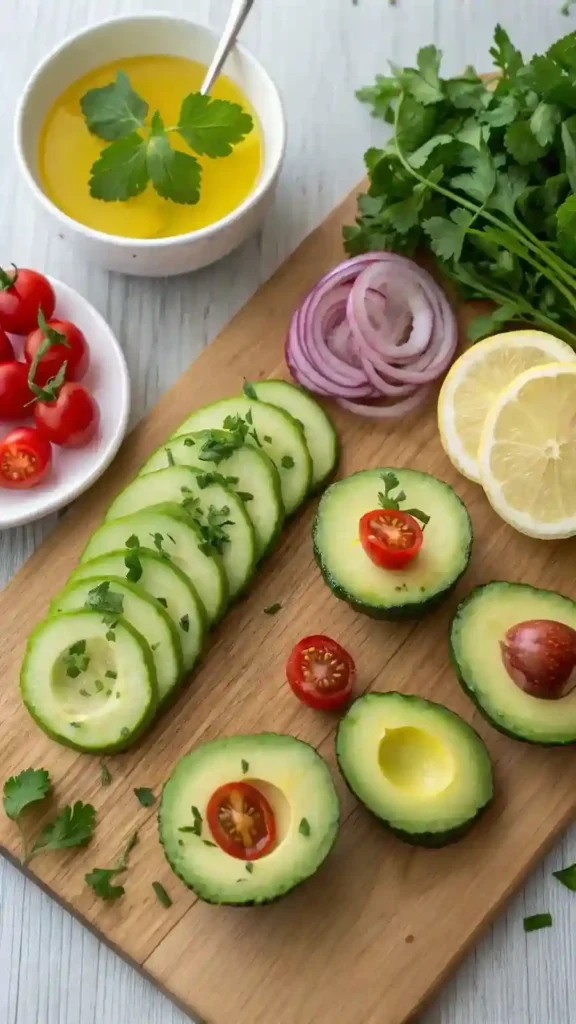
- Collect all your ingredients: cooked chicken, ripe avocados, lettuce leaves, lime juice, diced tomatoes, and your favorite seasonings.
- Shred or chop the cooked chicken into bite-sized pieces. This will make it easy to mix with the other ingredients.
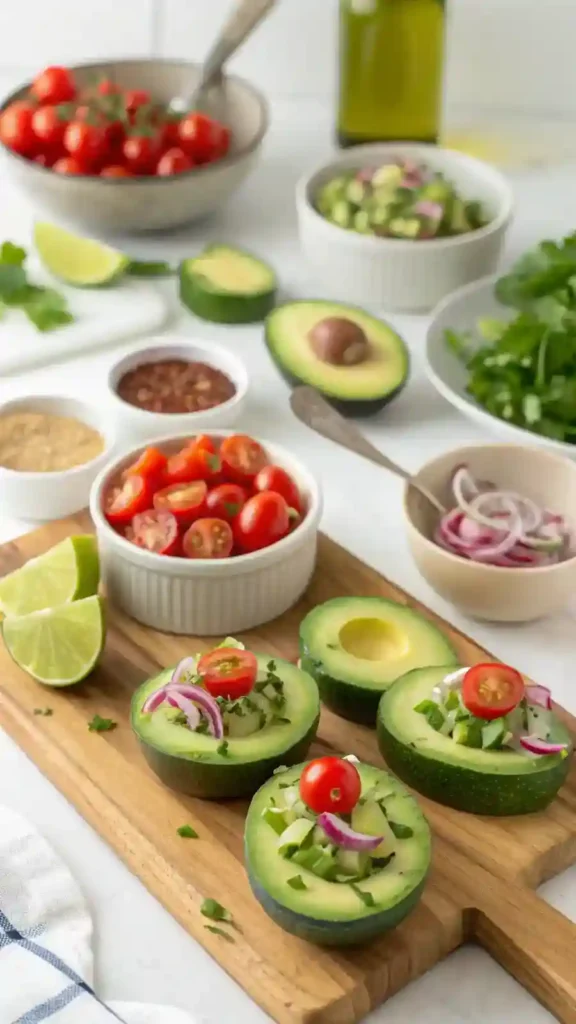
- In a bowl, scoop out the ripe avocados and mash them with a fork. Add a splash of lime juice to keep it fresh and zesty!
- In a mixing bowl, combine the shredded chicken, mashed avocado, diced tomatoes, and any seasonings you love. Stir until everything is well mixed.
- Carefully wash and dry the lettuce leaves. Choose large, sturdy leaves for the perfect wrap.
- Take a lettuce leaf, spoon a generous amount of the chicken and avocado mixture onto it, and fold it up like a taco!
- Dig in and enjoy your Avocado Chicken Lettuce Wraps! Feel free to add extra toppings like salsa or cheese for an added kick.
Recipe Snapshot
| Feature | Details |
|---|---|
| Category: | Appetizer |
| Cuisine: | Mexican |
| Prep Time: | 15 minutes |
| Cook Time: | 10 minutes |
| Total Time: | 25 minutes |
| Dietary: | Gluten-free, Low-carb |
| Serves: | 4 |
| Best Served: | Chilled or at room temperature |
Ingredients

- Chicken Breast – lean protein that keeps you full and satisfied.
- Avocado – creamy texture and healthy fats for a nutritious boost.
- Lettuce Leaves – crisp and refreshing base for your wraps.
- Greek Yogurt – a healthy alternative to mayonnaise for added creaminess.
- Cherry Tomatoes – juicy and sweet, they add a burst of flavor.
- Red Onion – adds a zesty crunch and enhances the overall taste.
- Fresh Cilantro – brightens up the dish with its fresh flavor.
- Lime Juice – adds a tangy kick and helps prevent avocado browning.
- Salt and Pepper – essential seasonings to enhance all the flavors.
Ingredients with measurements will be right under the article in the recipe card.
How to Make the Avocado Chicken Lettuce Wraps
Get ready to whip up some delicious Avocado Chicken Lettuce Wraps with these easy steps!
Step 1: Gather Your Ingredients
Collect all your ingredients: cooked chicken, ripe avocados, lettuce leaves, lime juice, diced tomatoes, and your favorite seasonings.
Step 2: Prepare the Chicken
Shred or chop the cooked chicken into bite-sized pieces. This will make it easy to mix with the other ingredients.
Step 3: Mash the Avocado
In a bowl, scoop out the ripe avocados and mash them with a fork. Add a splash of lime juice to keep it fresh and zesty!
Step 4: Mix It All Together
In a mixing bowl, combine the shredded chicken, mashed avocado, diced tomatoes, and any seasonings you love. Stir until everything is well mixed.
Step 5: Prepare the Lettuce Wraps
Carefully wash and dry the lettuce leaves. Choose large, sturdy leaves for the perfect wrap.
Step 6: Assemble Your Wraps
Take a lettuce leaf, spoon a generous amount of the chicken and avocado mixture onto it, and fold it up like a taco!
Step 7: Enjoy Your Creation
Dig in and enjoy your Avocado Chicken Lettuce Wraps! Feel free to add extra toppings like salsa or cheese for an added kick.
Pro Tips for Making the Recipe
- Choose fresh, crisp lettuce leaves for the best wrap experience.
- Use ripe avocados for a creamy texture; they should yield slightly to pressure.
- Season the chicken well before cooking to enhance flavor; try using lime juice and garlic powder.
- For added crunch, toss in some diced cucumbers or bell peppers.
- Assemble just before serving to keep the lettuce crisp and fresh.
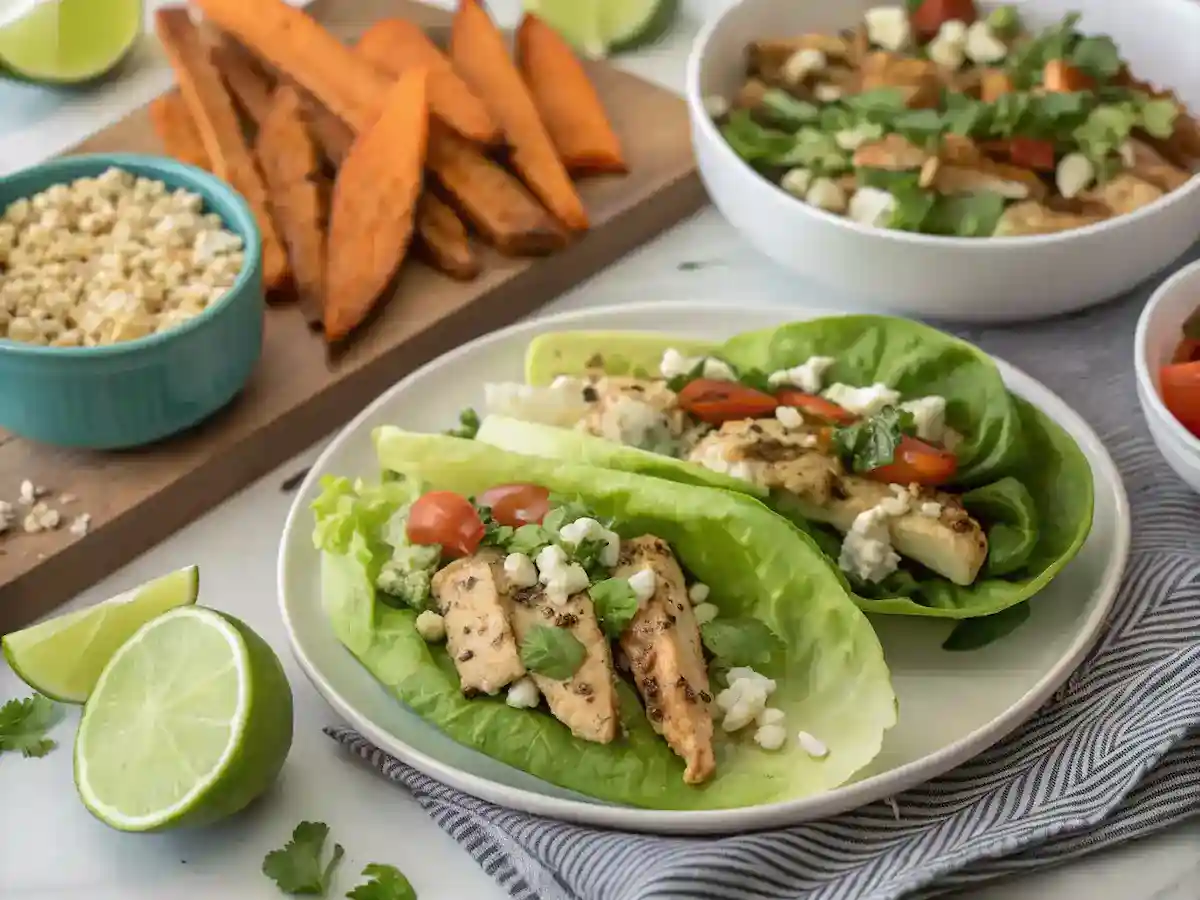
How to Serve
- Serve in crisp romaine or butter lettuce leaves for a fresh crunch.
- Top with diced tomatoes and a sprinkle of feta cheese for added flavor.
- Drizzle with a zesty lime vinaigrette for a citrusy kick.
- Pair with a side of quinoa salad for a wholesome meal.
- Enjoy with a refreshing cucumber and mint yogurt dip.
- Garnish with fresh cilantro or parsley for a burst of color.
- Serve alongside sweet potato fries for a satisfying crunch.
- Wrap in whole grain tortillas for a heartier option.
- Accompany with a light fruit salad for a sweet contrast.
- Offer a variety of dipping sauces like tahini or hummus for extra flavor.
Make Ahead and Storage
To enjoy your Avocado Chicken Lettuce Wraps later, proper storage is key!
Storing Leftovers
Follow these simple steps to keep your leftovers fresh:
- Allow the wraps to cool completely before storing.
- Place them in an airtight container.
- Store in the refrigerator for up to 3 days.
Freezing
Want to save some for later? Here’s how to freeze them:
- Wrap individual lettuce wraps tightly in plastic wrap.
- Place wrapped wraps in a freezer-safe bag or container.
- Label with the date and freeze for up to 2 months.
Reheating
When you’re ready to enjoy your wraps again, follow these tips:
- Thaw in the refrigerator overnight before reheating.
- Reheat in a skillet over medium heat for a few minutes.
- Add a splash of water to steam and keep the lettuce crisp.
FAQs
What type of lettuce is best for wraps?
Butter lettuce or romaine are great choices! They are sturdy yet flexible, making them perfect for holding all the delicious fillings without tearing.
Can I make these wraps ahead of time?
Absolutely! You can prepare the chicken and avocado mixture in advance. Just store it in an airtight container in the fridge and assemble the wraps when you’re ready to eat.
What can I substitute for chicken?
If you’re looking for a vegetarian option, try using chickpeas or tofu. Both options will provide a hearty texture and absorb the flavors beautifully!
How can I add more flavor to the wraps?
Consider adding spices like cumin or paprika to the chicken mixture. Fresh herbs like cilantro or parsley can also elevate the taste and add a refreshing touch!
Final Thoughts
There you have it Avocado Chicken Lettuce Wraps that are not just a feast for the eyes but a delight for the taste buds! Whip these up for a quick lunch or a fun dinner, and savor the joy of fresh flavors. Remember, cooking can be simple and oh-so-rewarding. So gather your ingredients, roll up your sleeves, and enjoy every delicious bite with a smile!