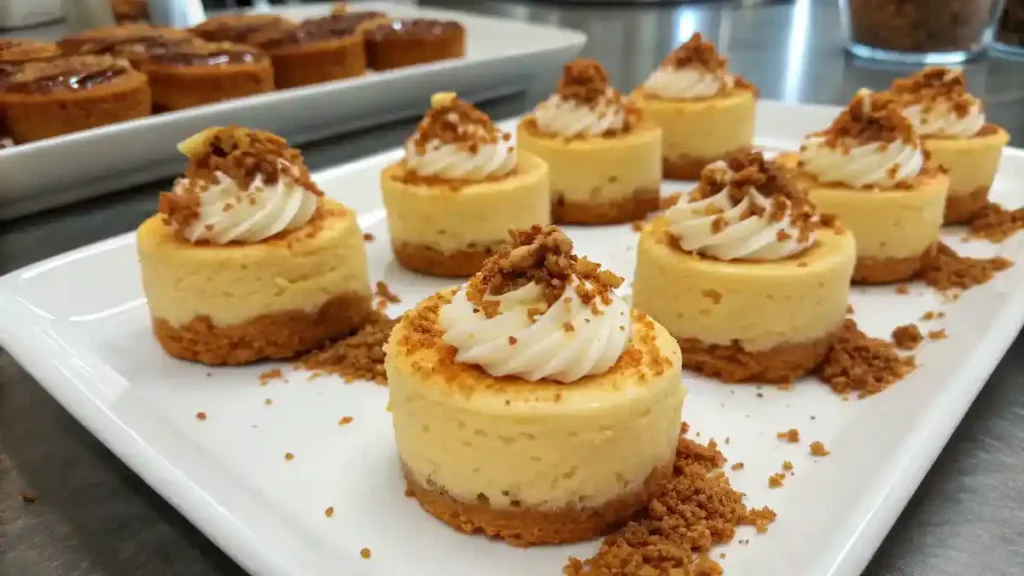
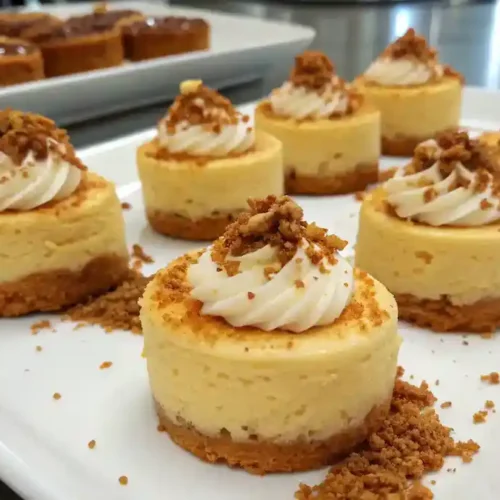
Imagine sinking your spoon into a velvety, creamy cheesecake that melts in your mouth, with a delightful crunch from a buttery Biscoff cookie crust. These Mini Biscoff Cheesecakes are a sweet symphony of rich flavors, perfectly balanced with the warm, spiced notes of caramelized cookies. Each bite is a little piece of heaven, topped with a luscious swirl of whipped cream and a drizzle of Biscoff spread that adds an irresistible finish. Perfect for sharing—or not!—these mini delights will have you dreaming of dessert long after the last crumb is gone.
Why You’ll Love This Recipe
- Trust me, you’re going to love the creamy, dreamy texture!
- This one’s a game-changer for Biscoff lovers everywhere!
- Perfectly portioned for guilt-free indulgence.
- Easy to whip up, making it a fun kitchen adventure!
- Impressive enough to wow your friends and family!
Recipe Snapshot
| Feature | Details |
|---|---|
| Category | Side Dish |
| Cuisine | American-inspired comfort food |
| Prep Time | 10 minutes |
| Cook Time | 15 minutes |
| Total Time | 25 minutes |
| Dietary | Vegetarian |
| Serves | 4 |
| Best Served | Chilled and creamy |
Ingredients
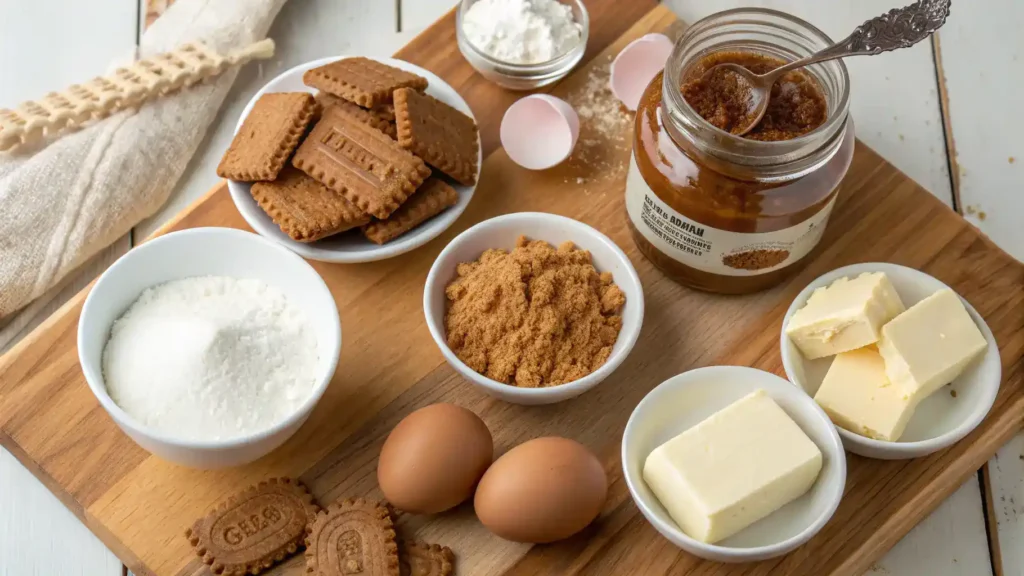
- Graham cracker crumbs – a crunchy base that adds texture and flavor.
- Biscoff cookies – for that signature caramelized taste and extra crunch.
- Unsalted butter – binds the crust together and adds richness.
- Cream cheese – the creamy base for the cheesecake filling.
- Sugar – sweetens the filling to perfection.
- Vanilla extract – enhances the overall flavor of the cheesecake.
- Heavy cream – adds a light and fluffy texture to the filling.
- Biscoff spread – for a deliciously rich and creamy flavor in the filling.
Ingredients with measurements will be right under the article in the recipe card.
How to Make the Recipe

Get ready to whip up some delightful Mini Biscoff Cheesecakes! Follow these simple steps for a treat that will impress everyone.
Step 1: Gather Your Ingredients
Collect all your ingredients: cream cheese, sugar, vanilla extract, heavy cream, Biscoff cookies, and butter. Don’t forget the Biscoff spread for that extra yum!
Step 2: Prepare the Crust
Crush the Biscoff cookies into fine crumbs. Mix them with melted butter until well combined. This will be the base of your cheesecakes!
Step 3: Press the Crust
Evenly distribute the cookie mixture into the bottom of your mini cheesecake cups. Press down firmly to create a solid crust. You want it to hold together nicely!
Step 4: Make the Cheesecake Filling
In a bowl, beat the cream cheese until smooth. Gradually add sugar and vanilla extract, mixing until creamy. Fold in the heavy cream until everything is well combined.
Step 5: Add Biscoff Spread
Gently swirl in the Biscoff spread into your cheesecake mixture. This adds a delicious flavor that will make your cheesecakes irresistible!
Step 6: Fill the Cups
Spoon the cheesecake filling over the crust in each cup. Fill them generously, but leave a little space at the top for toppings!
Step 7: Chill the Cheesecakes
Place the filled cups in the refrigerator for at least 4 hours, or overnight if you can wait. This helps the cheesecakes set perfectly!
Step 8: Add Toppings
Once chilled, top each cheesecake with a dollop of Biscoff spread and a sprinkle of crushed cookies. Get creative with your toppings!
Step 9: Serve and Enjoy!
Carefully remove the cheesecakes from the cups. Serve them up and watch everyone’s faces light up with joy. Enjoy your delightful Mini Biscoff Cheesecakes!
Pro Tips for Making the Recipe

•Use room temperature cream cheese for a smoother texture.
•Crush Biscoff cookies finely for a better crust consistency.
•Chill the cheesecakes overnight for the best flavor and firmness.
•Experiment with different toppings like whipped cream or chocolate drizzle.
•Don’t skip the parchment paper liners for easy removal!
How to Serve
Delight in these Mini Biscoff Cheesecakes with these fun serving suggestions:
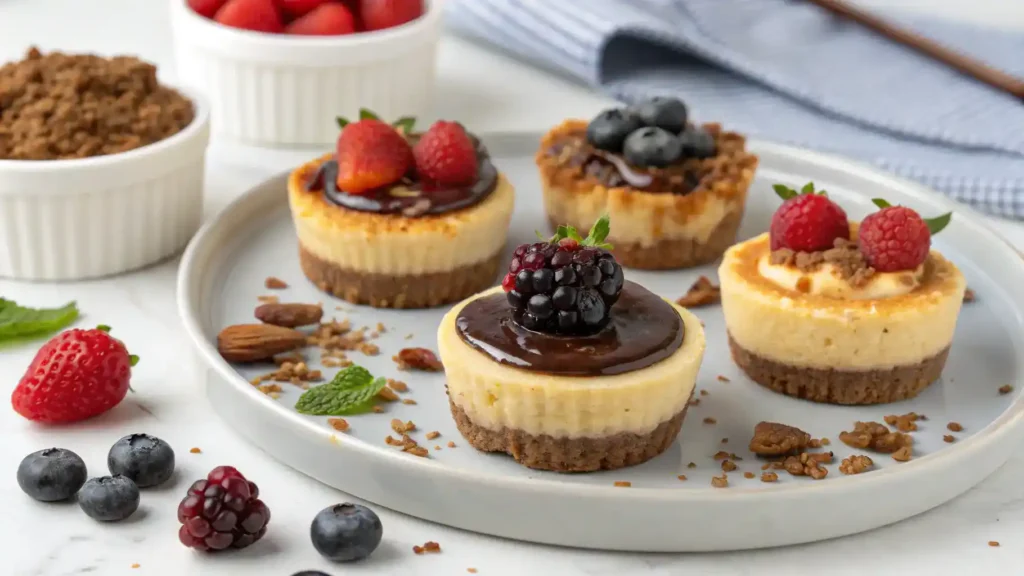
- Top with a drizzle of chocolate sauce for an extra indulgent touch.
- Garnish with crushed Biscoff cookies for added crunch and flavor.
- Serve with a dollop of whipped cream for a light and airy contrast.
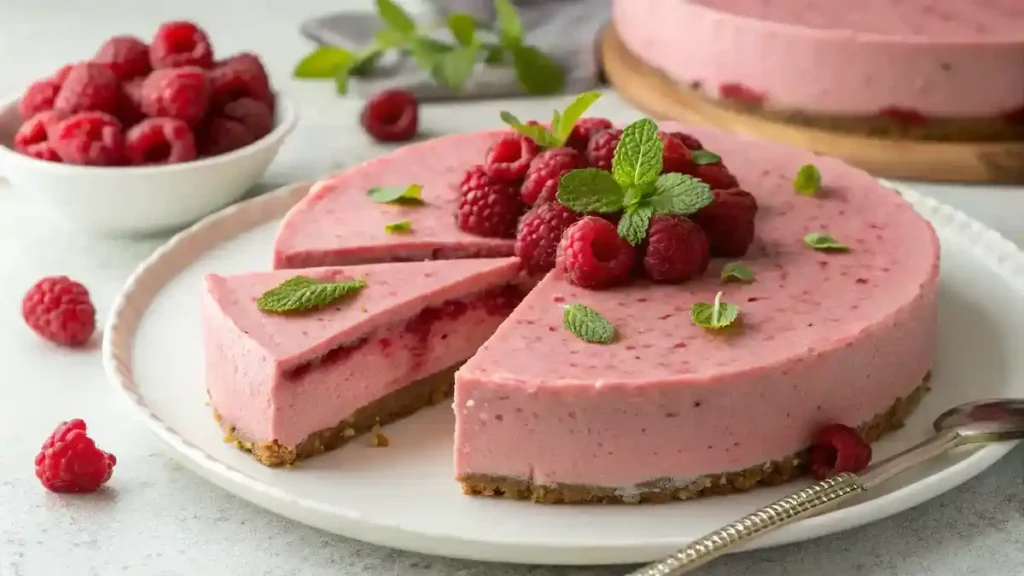
- Pair with fresh berries like strawberries or raspberries for a fruity twist.
- Enjoy alongside a cup of coffee or tea for a cozy afternoon treat.
- Present on a decorative platter for a stunning dessert display at gatherings.
- Try adding a sprinkle of cinnamon for a warm, spiced flavor profile.
Make Ahead and Storage
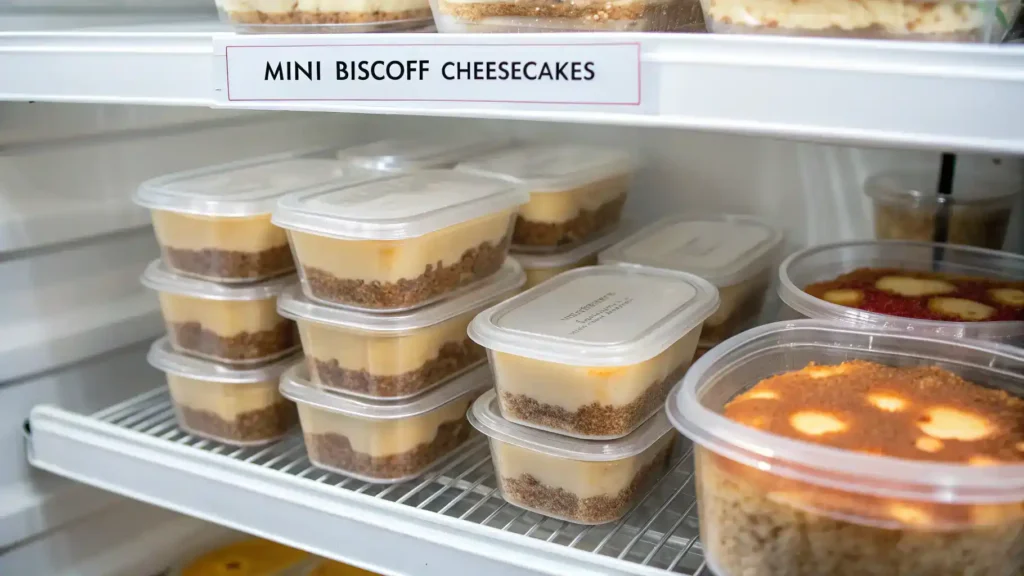
Proper storage ensures your Mini Biscoff Cheesecakes stay fresh and delicious!
Storing Leftovers
• Allow cheesecakes to cool completely before storing.
• Place them in an airtight container.
• Store in the refrigerator for up to 3 days.
• Keep them separated with parchment paper to avoid sticking.
Freezing
• Wrap each cheesecake individually in plastic wrap.
• Place wrapped cheesecakes in a freezer-safe container.
• Label with the date and freeze for up to 2 months.
• Thaw in the refrigerator overnight before serving.
Reheating
• Reheat in the microwave for 10-15 seconds.
• Check for warmth; avoid overheating.
• Enjoy chilled for the best texture.
• Serve with a dollop of whipped cream if desired.
Mini Biscoff Cheesecakes
Equipment
- 1 Mini cheesecake cups For filling the cheesecake mixture.
- 1 Mixing bowl For mixing the cheesecake filling.
- 1 Electric mixer To beat the cream cheese and mix ingredients.
Ingredients
Crust
- 1 cup Graham cracker crumbs A crunchy base that adds texture and flavor.
- 8 cookies Biscoff cookies For that signature caramelized taste and extra crunch.
- 4 tablespoons Unsalted butter Binds the crust together and adds richness.
Filling
- 8 ounces Cream cheese The creamy base for the cheesecake filling.
- 1/2 cup Sugar Sweetens the filling to perfection.
- 1 teaspoon Vanilla extract Enhances the overall flavor of the cheesecake.
- 1/2 cup Heavy cream Adds a light and fluffy texture to the filling.
- 1/2 cup Biscoff spread For a deliciously rich and creamy flavor in the filling.
Instructions
Step 1: Gather Your Ingredients
- Collect all your ingredients: cream cheese, sugar, vanilla extract, heavy cream, Biscoff cookies, and butter. Don’t forget the Biscoff spread for that extra yum!
Step 2: Prepare the Crust
- Crush the Biscoff cookies into fine crumbs. Mix them with melted butter until well combined. This will be the base of your cheesecakes!
Step 3: Press the Crust
- Evenly distribute the cookie mixture into the bottom of your mini cheesecake cups. Press down firmly to create a solid crust. You want it to hold together nicely!
Step 4: Make the Cheesecake Filling
- In a bowl, beat the cream cheese until smooth. Gradually add sugar and vanilla extract, mixing until creamy. Fold in the heavy cream until everything is well combined.
Step 5: Add Biscoff Spread
- Gently swirl in the Biscoff spread into your cheesecake mixture. This adds a delicious flavor that will make your cheesecakes irresistible!
Step 6: Fill the Cups
- Spoon the cheesecake filling over the crust in each cup. Fill them generously, but leave a little space at the top for toppings!
Step 7: Chill the Cheesecakes
- Place the filled cups in the refrigerator for at least 4 hours, or overnight if you can wait. This helps the cheesecakes set perfectly!
Step 8: Add Toppings
- Once chilled, top each cheesecake with a dollop of Biscoff spread and a sprinkle of crushed cookies. Get creative with your toppings!
Step 9: Serve and Enjoy!
- Carefully remove the cheesecakes from the cups. Serve them up and watch everyone’s faces light up with joy. Enjoy your delightful Mini Biscoff Cheesecakes!
FAQs
What can I use instead of Biscoff cookies?
If you can’t find Biscoff cookies, you can use speculoos cookies or any other spiced cookie as a substitute. Graham crackers can also work, but they will change the flavor profile slightly. Just crush them finely to maintain the cheesecake’s texture.
Can I make these Mini Biscoff Cheesecakes ahead of time?
Absolutely! These cheesecakes can be made a day or two in advance. Just store them in the refrigerator, covered, to keep them fresh. This makes them a perfect treat for parties or gatherings!
How do I prevent my cheesecakes from cracking?
To prevent cracks, make sure to mix your cream cheese until smooth and avoid overmixing. Baking them in a water bath can also help maintain moisture and even temperature, resulting in a smoother finish.
Can I freeze Mini Biscoff Cheesecakes?
Yes, you can freeze them! Just wrap each cheesecake tightly in plastic wrap and then place them in an airtight container. They can be frozen for up to three months. Thaw them in the fridge before serving for the best texture.
Final Thoughts
There you have it—Mini Biscoff Cheesecakes that are not only simple to whip up but also a delightful treat to savor! Imagine the creamy goodness paired with that iconic Biscoff flavor; it’s pure bliss! So gather your ingredients, invite a friend, and enjoy this sweet adventure together. Trust me, these little bites of joy will have everyone coming back for more. Happy baking!