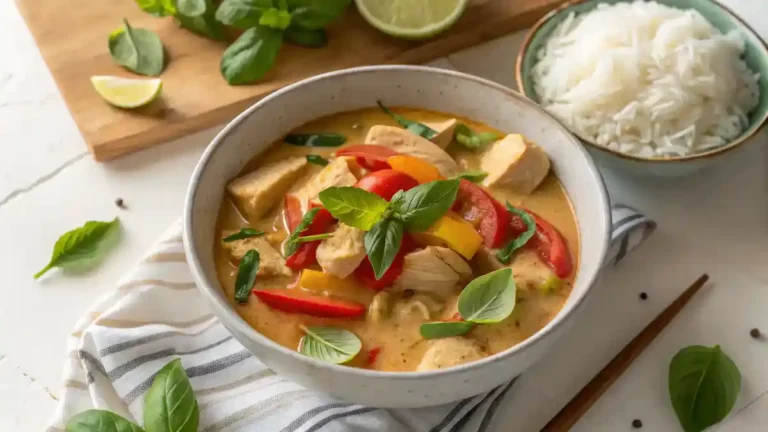
Thai Style Chicken Curry: The Ultimate Comfort Food That Actually Loves You Back
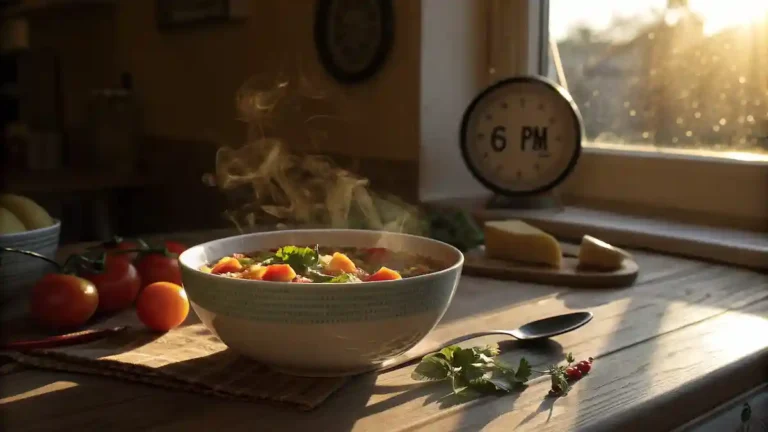
You know that feeling when you’re craving something rich, warming, and absolutely soul satisfying, but you also want to feel good about what you’re putting in your body? I’ve been there more times than I can count, standing in my kitchen at 6 PM, staring into the fridge with that familiar “what’s for dinner?” panic….